DIY FRI.
It’s DIY FRI. again, where every week I try to post something you can do yourself rather than buy, which is a money saver, and can be VERY REWARDING. Some of these posts are crafts, sewing projects, homemade cleaners, homemade health aids, tutorials, and the like.
For the Sign, What You Will Need:
- plain paper
- background paper
- fun paper
- stencils for the letters (or free-hand it)
- scrapbooking glue
- scissors
The Sign Instructions (pretty self-explanatory, but just in case you want to know):
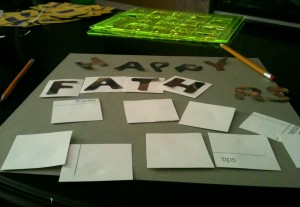
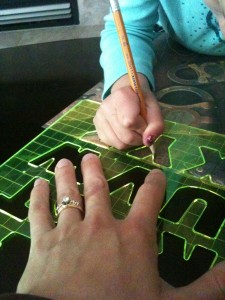
- Take your fun paper, and trace the stencil of the letters you want.
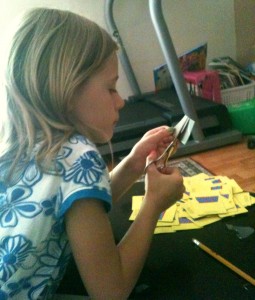
- Cut out your letters carefully. My Ellie girl (7 years old) helped me with this step.
- If you wish, you could pre-measure your squares or rectangles on the plain paper. I just eye ball mine. Cut out the squares.
- Glue the letters to the small squares.
- Glue your small square letters to your background paper.
- Display, and enjoy!
 For the Tie Banner, What You Will Need:
- 2 tacks to tack the ribbon to the wall
- ribbon
- optional, fabric pencil
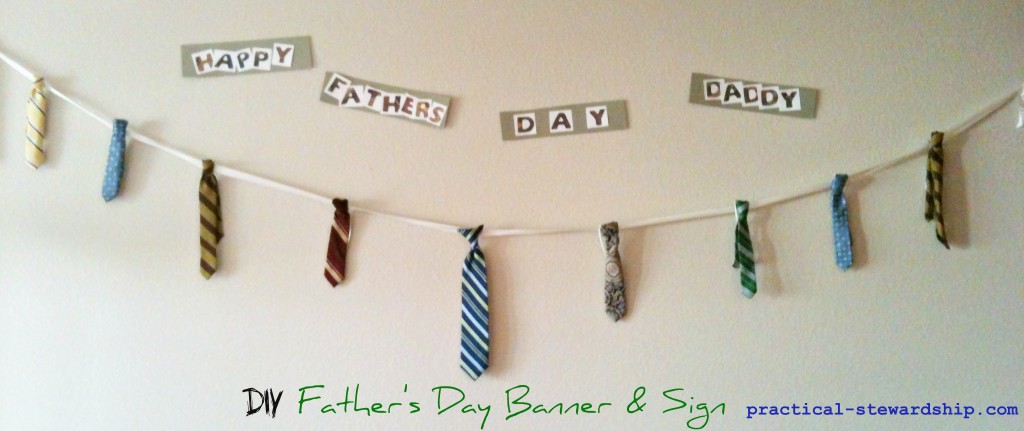
- as many small ties as you want to use (the ones with clips are easiest to use) I re-fashioned the ties to fit my 2-year old: tutorial here (you could make paper ties instead)
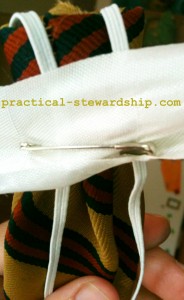
- safety pins if you are using ties with clips
The Instructions:
- Tack your tacks in the desired area on your wall.
- Tie the ribbon to the tacks.
- Decide how far you want the ties apart. You can evenly & lightly mark your ribbon with a fabric pencil if desired.
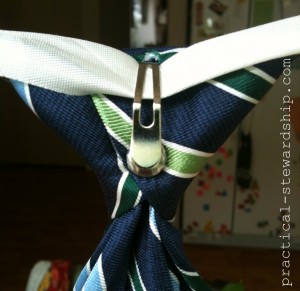
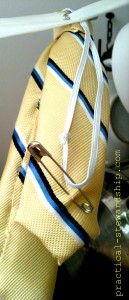
- Attach your ties to the ribbon (whether it be with the tie clips or safety pins) to display and enjoy!
- If you are using little ties with elastic, safety pin the elastic so it doesn’t show.
A few things you could do/try that I didn’t:
- makes the ties out of paper (like die cuts)
- use a tie that’s been cut up as your ribbon that you attach the other ties to
- use rope or twine (I tried this at first to make it more “manly”, but the ties look so nice, it made more visual sense to me to use a nice ribbon)
- use full length ties and actually tie them ( I tried this and it was kind of ugly: let me know if you can do this well, though)
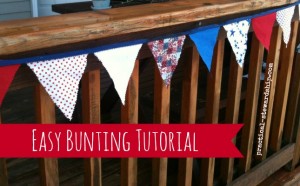
Have you made your own bunting?
We would love to hear from you! Get free e-mail updates by subscribing here. Follow us on Pinterest, Facebook and Twitter. “Moreover, it is required of stewards that they be found faithful” (1 Corinthians 4:2 ESV). Thanks for visiting!
Sonja
Have you read…?
- DIY Re-puposing a Man’s Tie to a Boy’s Tie
- DIY Repurposing Old Clothing to New Clothing
- Upcycled Towel to Bib Tutorial
- Accountability & Wisdom: The Vegetable Garden
- DIY: Grow Your Own Green Onions In the Windowsill
- DIY: Starting Our Garden
- Repurposed Tights to Headband Tutorial
- Repurposed Tights to Boys’ Underwear
- Repurposed Shirt to Skirt Tutorial

This is so cute! I love the idea. Thanks for sharing at Showcase Your Talent Thursday!
I just featured this at the Project Party today! I love this idea! 🙂 Great job!
Thanks so much for the feature!!!
That tie banner is so cute!! Nice job.
I’m so glad you linked up at Romance on a Dime. Hope to see you next week.
Hi Betsy, Thanks! Also, thanks for stopping by!
That is a really cute idea. My husband doesn’t even wear his neck ties so I could get away with it.
Thanks for visiting! You should try it!