DIY Time
It’s DIY Time again, where I post something you can do yourself rather than buy, which is a money saver, and can be just plain fun! Some of these posts are crafts, sewing projects, re-purposed ideas, homemade cleaners, homemade health aids, tutorials, and the like.
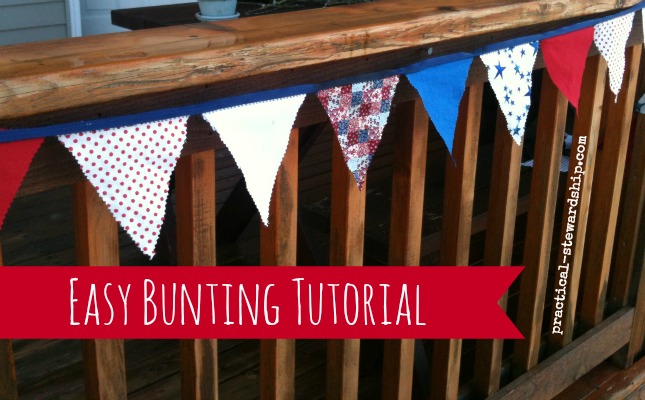
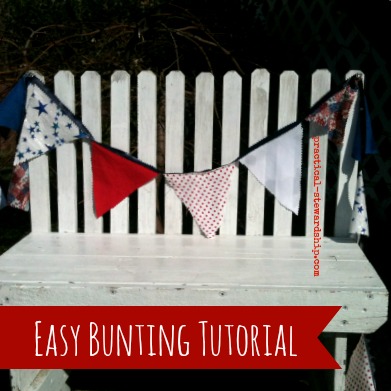
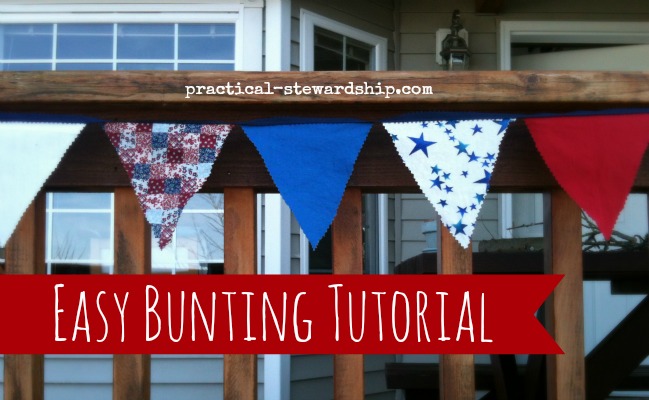 I’ve been wanting to make bunting for a few years now. By the way, you could call this a pennant banner if you want, too. Bunting is so celebratory, fun, and easy to make. If you know me, I like easy, fast, efficient, and fun crafts. I like how the bunting is reusable, and making it with a patriotic theme makes it useful for Memorial Day, Flag Day, Fourth of July and basically all of summer!
At Christmastime last year we were able to visit my in-laws, and my mother-in-law gave me a lot of fabric in patriotic colors. Perfect for patriotic bunting I thought! I also had some red, white, and blue patterned material from an old basket liner that I re-purposed.
I have seen beautiful bunting tutorials like this one where you actually sew the triangles, making them two-sided (which sides the raw edges), and use bias tape, so it makes the bunting reversible. I didn’t need mine reversible, and I wanted my bunting to come together much more quickly.
This is a fast and easy bunting tutorial in comparison since the pinking shears easily take care of our raw edges. So basically I just cut triangles out of my fabric with pinking shears so I didn’t have to sew/hide the raw edges of the triangles, and then I sewed them to the ribbon, so the right side of the ribbon is on top. That’s the tutorial in a nutshell, but for the breakdown, read below. And a quick trick for cutting the triangle is shown below in the picture, too.
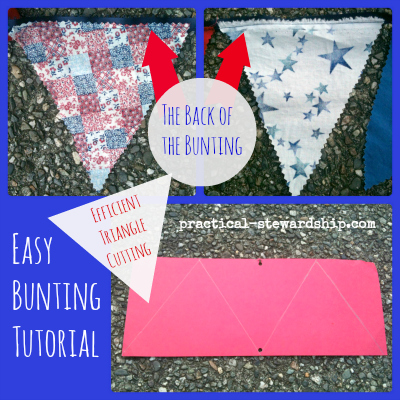 To make less cuts, trace several triangles on your fabric (or paper-please ignore the holes as I needed a demo) as shown above, using one edge to become the edge of your next triangle. I hope that makes sense.
What You Will Need:
- recycled paper to make a pattern
- ruler
- pencil
- fabric (new or re-purposed; you can also use scrapbook paper)
- ribbon thick enough in width to be sewed upon
- coordinating thread
- sewing machine
- pinking shears
- iron
- pins
The How-to:
- Use a ruler and pencil to draw out a triangle pattern. I made a 6”x 6”x 6” triangle, although you could make yours more narrow.
- Use your pattern, and cut fabric to desired triangle size with the pinking shears.
- Iron your triangles.
- Pin triangles to the ribbon at a desired consistent interval. I elected to have no space between my triangles, but you can put space between them. Make sure the right side of the triangle is pinned to the wrong side of the ribbon so when you display your bunting, all you see are right sides.
- Sew the right side of the triangle to the wrong side of the ribbon (if there is a wrong side) carefully and slowly, taking out pins.
- Iron again if needed, and display to help you celebrate!
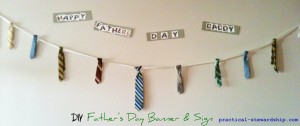
Have you ever made a Father’s Day Banner out of ties?
We would love to hear from you! Get free e-mail updates by subscribing here. Follow us on Pinterest, Facebook and Twitter. “Moreover, it is required of stewards that they be found faithful” (1 Corinthians 4:2 ESV). Thanks for visiting!
Sonja

Such a great idea!
Have a good one!
Hi Britney. Thanks so much, and thanks for visiting!
Fab tutorial – I would love for you to link up at the Mommy Archive – we’re focusing on beautiful bunting this week, Alice x
Very cute! I love how these buntings look…never thought of making one. thanks for the idea/tutorial.
Hi Gail, Thanks, and thanks for visiting. Hope you have a blessed week!!
So adorable and festive too! Thanks so much for the tutorial!!