DIY Time
It’s DIY Time again, where I post something you can do yourself rather than buy, which is a money saver, and can be just plain fun! Some of these posts are crafts, sewing projects, re-purposed ideas, homemade cleaners, homemade health aids, tutorials, and the like.
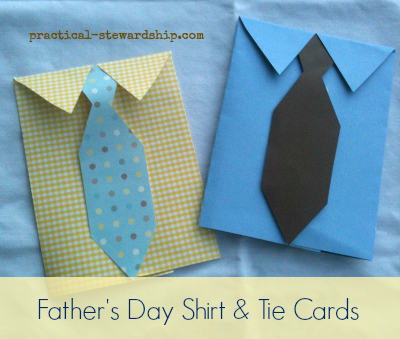
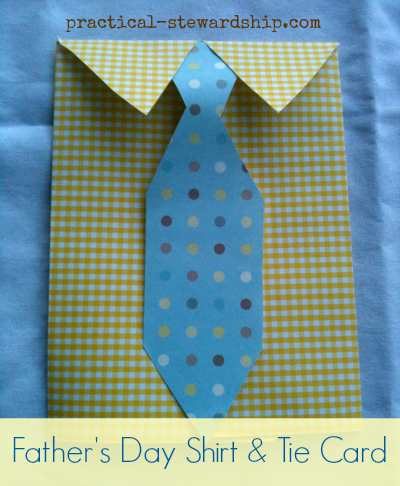
Last year my Ellie-girl, who was seven at the time, (I thought it was my Abbie-girl, but I was wrong Mrs. Hawke-I’m sorry!) brought a fun Father’s Day Dress Shirt and Tie card home from school. I thought it was so clever and wanted our kids to make more this year for grandpa, papa, and daddy, but I couldn’t find the original card. After searching some time ’round the house for the Father’s Day card with no results, I thought we would try to come up with something on our own. It doesn’t have any sleeves like the original (I wish I had a picture of the original card), but I think it makes it easier without the sleeves to fit into an envelope if you should desire.
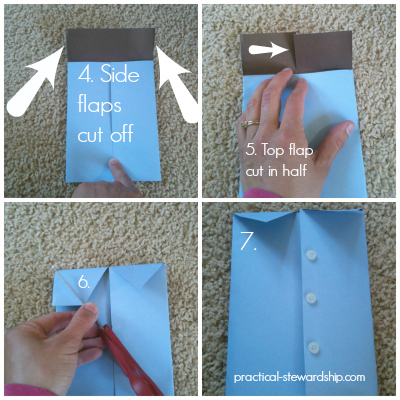
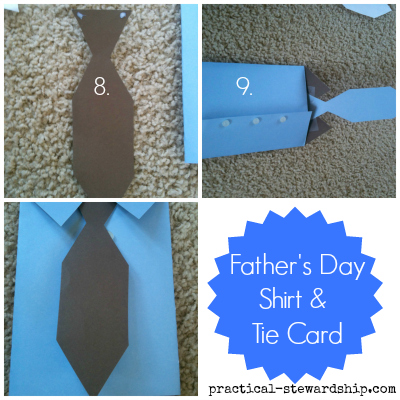
This Father’s Day Shirt and Tie Card is actually quite simple to make and took less than fifteen minutes to complete. If the instructional steps are confusing at all, just refer to the picture tutorial below. The numbers on the tutorial refer to the written out steps.
What You Will Need:
- one 8.5 x 11 decorative paper, card stock, scraps, recycled paper or any kind of paper you’d like to use for the shirt
- scissors
- craft glue, double-sided tape, or Scotch tape (tape works better)
- optional, buttons
- optional, real tie to cut (or use more paper)
The Steps:
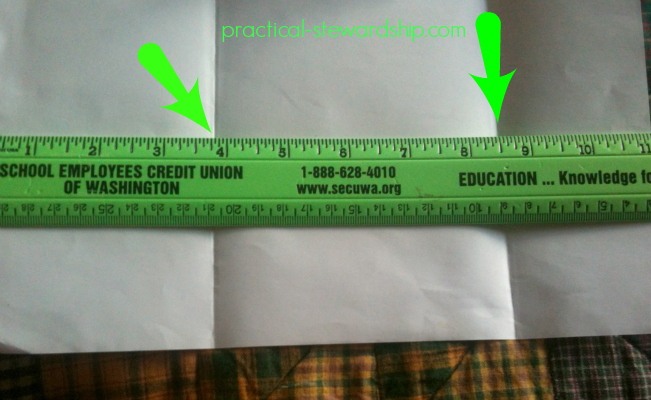
- Fold your 8.5 x 11 paper into thirds on the long side. It should look like the above picture. The folds were at about 3.75 inches and at 8.5 inches. One folded portion will be longer than the other folded portion.
- Keeping the paper folded in thirds, and fold down the top 2.5 inches and then lift up.
- On the right side, cut on the fold made in step #2 up to the point it meets the fold from step #1. Do the same thing on the left side. It should look like picture in frame numbered 3, with the two flaps.
- Cut those two rectangular side flaps off so it looks like picture in frame numbered 4.
- Cut the top flap in half.
- Fold top flaps down, and cut each flap into a “v” shape to make the collar as shown in the frame numbered 6.
- Glue on button, make paper buttons out of scraps, or color in some buttons.
- Cut out a tie, and place glue or tape on the front side of the tie. My tie was about 2 inches wide and as tall as the card. Shape as desired.
- Attach tie to the underside of the collar and let dry if needed.
Here is the picture tutorial. My paper in this demonstration happens to be two-toned: brown and blue.
So easy and fun! What are you doing for Father’s Day?
We would love to hear from you! Get free e-mail updates by subscribing here. Follow us on Pinterest, Facebook and Twitter. “Moreover, it is required of stewards that they be found faithful” (1 Corinthians 4:2 ESV). Thanks for visiting!
Sonja
