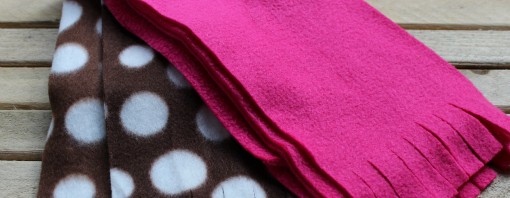
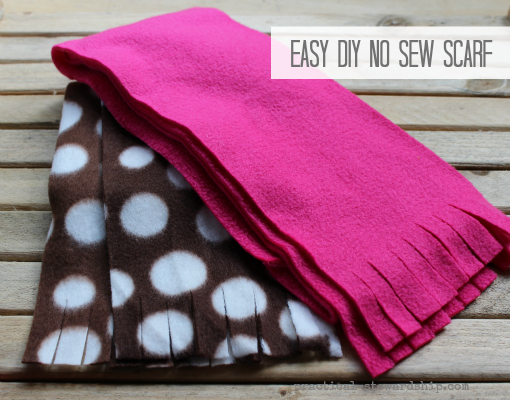
Since we are entering the season of giving I figured I’d share a few DIY posts with you this month starting with a no sew scarf. This is one of the easiest no sew tutorials ever. This would be a great project for kids to put together, too!
IT’S DIY TIME , WHERE I POST SOMETHING YOU CAN DO YOURSELF RATHER THAN BUY, MAKING IT A MONEY SAVER. PLUS, IT’S SO OFTEN SO REWARDING. YOU WILL FIND CRAFTS, SEWING PROJECTS, HOMEMADE CLEANERS, HOMEMADE HEALTH AIDS, TUTORIALS, AND THE LIKE.
Depending what part of the world in which you live, a scarf makes a great gift. In fact someone gave us a whole bunch of fleece a couple of years ago, so we made a whole bunch of scarves to give to the homeless. This year I am giving my kids and husband scarves and head warmers as part of their gifts.
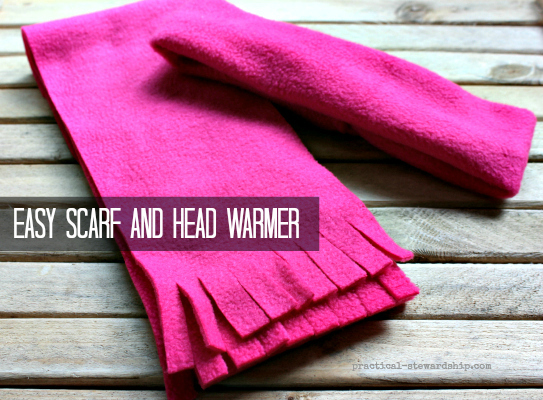
I’ve have also made scarves out of re-puposed fleece from old jackets.
What you will need:
- fleece (for an adult size it’s really up to you: you can have a length of 60 inches or shorter, and for the width if you like a thick scarf, 10-12 inches, but I like 6 inches for myself)
- fabric scissors
- ruler, I love the Omingrid Quilter’s Ruler
- optional, fabric pencil
- optional, rotary cutter
- optional, rotary cutting mat
The Instructions:
- Measure out your scarf to your desired length and width. If using scissors, use a fabric pencil to trace it.
- Cut your fleece either using your rotary cutters and mat or your scissors.
- Optional, cut fringe on each side of the scarf. I like my fringe the length of what my scissors will cut which is about 2 inches, and cutting it about every 3/4 inch. I am an eye-baller, but you can use a ruler to do this too. Some people like skinny fringe about 5 inches long. I fold my scarf in half and cut through the two layers at the same time to make the fringe.
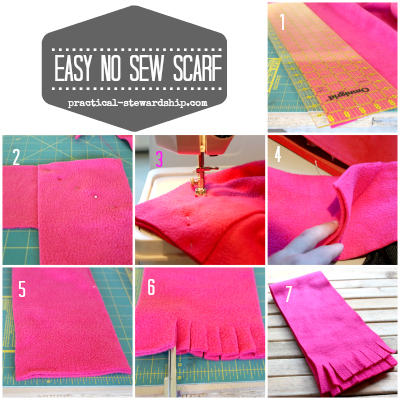
Special note for re-purposing/using scraps: if you are re-purposing old jackets and don’t have enough fabric to make your scarf as long as you want, my friend Cheryl showed me this neat to trick elongate the fabric. Simply put the right sides together to make them perpendicular. Pin a diagonal line as shown below in steps 2-4, and sew along the diagonal line. Cut the flap off and proceed. Sure you could sew straight across, but this gives the scarf a cleaner finished looked.
For another easy no-sew project, here is a DIY no-sew fleece blanket.
