DIY FRI.
It’s DIY FRI. again, where every week I try to post something you can do yourself rather than buy, which is a money saver, and can be VERY REWARDING. Some of these posts are crafts, sewing projects, homemade cleaners, homemade health aids, tutorials, and the like.
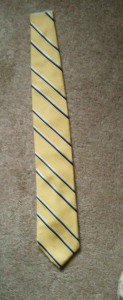
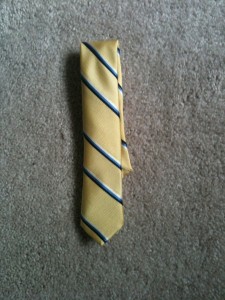
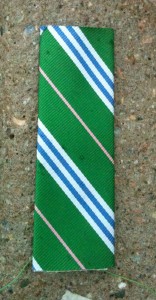
I LOVE hand-me-downs! One day a dear friend gave me some boys clothes for my two year old boy, and in the clothes I found this:
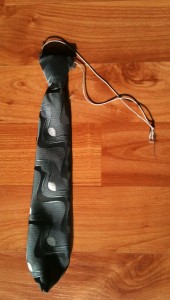
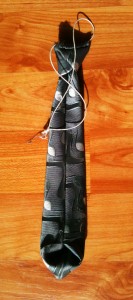 I thought that it looked like someone took a man’s tie and re-fashioned and re-purposed it into a boy’s tie. Genius!! I asked my friend, and she said that maybe a family member back in Hungary made it and handed it down to her family.
It inspired me to find a tutorial on the internet. I found this one and read it and read it again.
I asked JSarr and my dad for all of their ties that were
 stained or they didn’t want. My dad has probably worn ties three times in the last two decades. My husband on the other hand used to wear ties five days a week and had many opportunities to stain some ties so he had a few to give up.
For almost a month my sewing machine and ties sat in our dining area waiting to be re-fashioned. I admit I was afraid to dive in and do it. Sometimes you just have to go for it, though. As soon as I dug into my project, I thought of a different way to try to make the ties. I ended tried several different ways, following no tutorials, and here are the three best ways I came up with.
Keep in mind I have an almost-three year old, so one standard man’s tie will make two ties with some leftover material, especially if one of the ties is made with elastic around the neck.
What You Will Need:
- a man’s tie
- matching thread
- hand sewing needles
- scissors
- pins
- a big safety pin for tutorials #2 and #3
- thin elastic for tutorials #2 and #3
Tutorial #1: This tutorial is super fast! With this tutorial you can create an actual tie that you need to actually tie a knot. I love that it uses the end of the adult tie (which is usually cleaner if you are re-purposing it) because you don’t have to re-size the wide area.
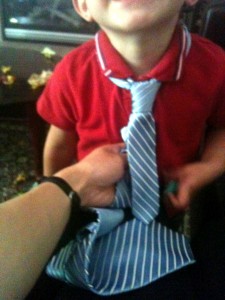
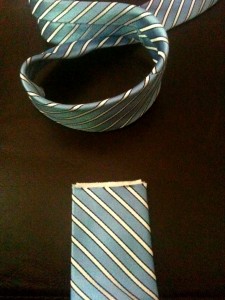
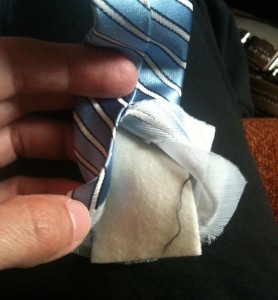
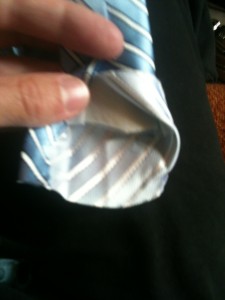
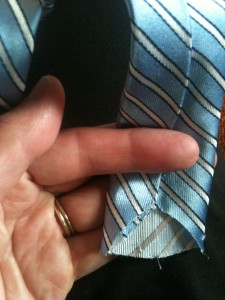


Tutorial #2: If you don’t actually want to tie a tie, this tutorial uses elastic around the neck.
I think it’s the hardest of the three tutorials because you have to use the wide side of the tie and re-size it, but by doing so, you can make use of almost the entire man’s tie and have two ties if you want matching ties. Also the wider end is good to use for older boys.
This tutorial took me about an hour since I hand sewed the tie. It would probably go faster if you machine sewed the tube.
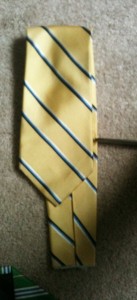
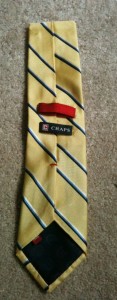
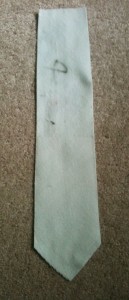

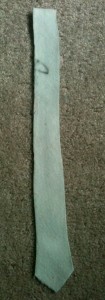
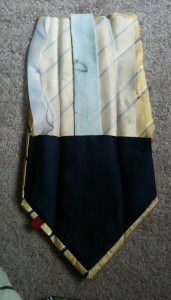
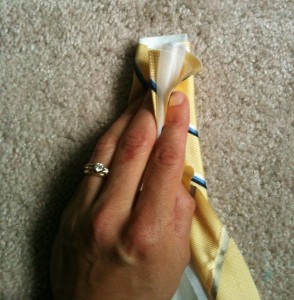
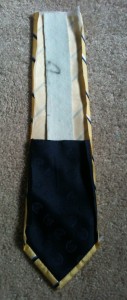

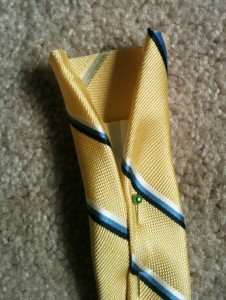

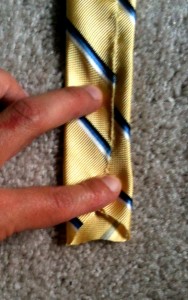
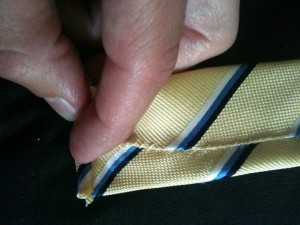
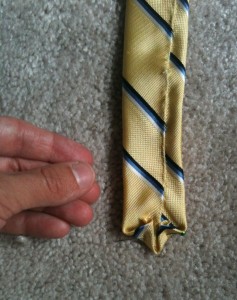
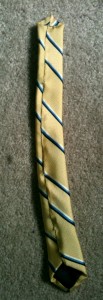

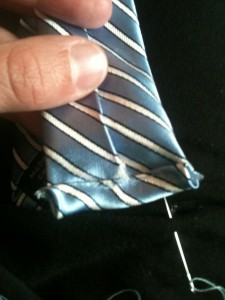
We are going to make a loop and flip it inside out to hide the seam, so make sure you have what will be the inside of the knot on the outside now. I am really sorry if this is confusing. Hopefully the pictures help. E-mail me for further instructions if you need.
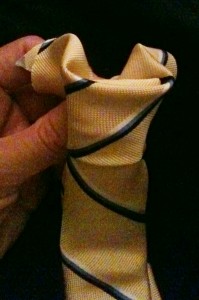
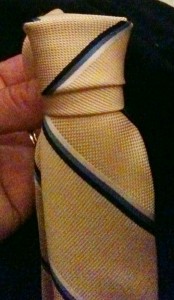
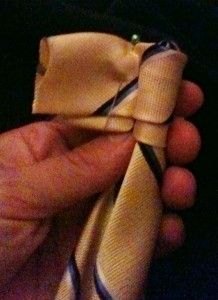
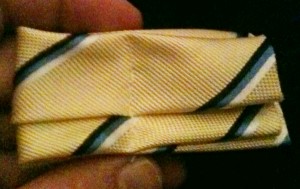
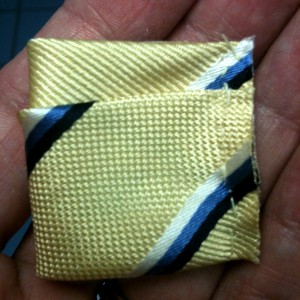
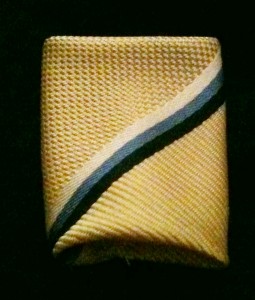
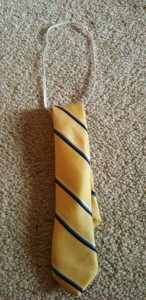
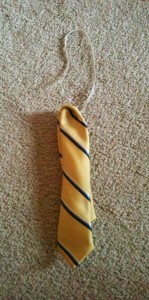
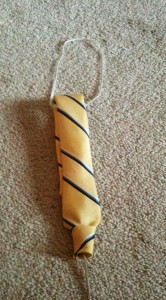
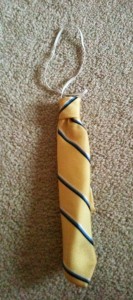
Tutorial #3: This tutorial is also super fast. It is a combination of tutorial #1 and #2, as it uses the skinny end of the tie like tutorial #1, but it also uses the elastic as in tutorial #2.
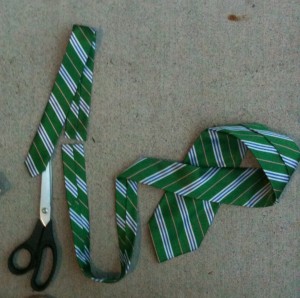
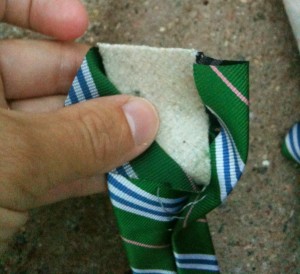
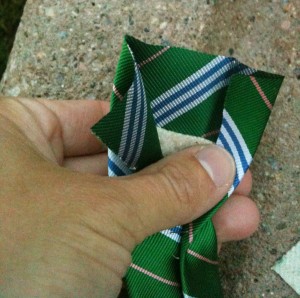
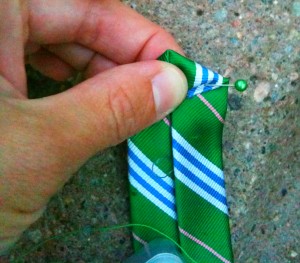
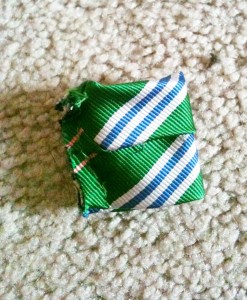
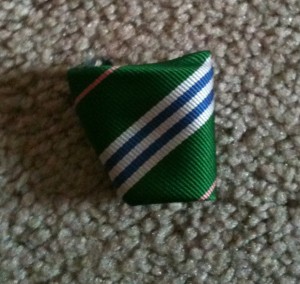

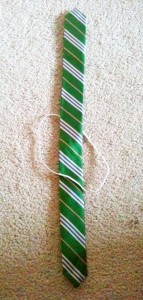
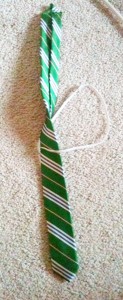
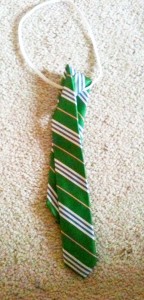
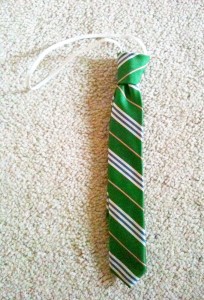
Wow! That’s a lot of pictures. I really hope the pictures help, especially where I have a hard time articulating exactly what I mean.
We would love to hear from you! Get free e-mail updates by subscribing here. Follow us on Pinterest, Facebook and Twitter. “Moreover, it is required of stewards that they be found faithful” (1 Corinthians 4:2 ESV). Thanks for visiting!
Sonja
Have you read…?
- DIY Repurposing Old Clothing to New Clothing
- Upcycled Towel to Bib Tutorial
- Accountability & Wisdom: The Vegetable Garden
- DIY: Grow Your Own Green Onions In the Windowsill
- DIY: Starting Our Garden
- Repurposed Tights to Headband Tutorial
- Repurposed Tights to Boys’ Underwear
- Repurposed Shirt to Skirt Tutorial



I love this idea. My kids are grown, so I can’t use it any longer. Just a thought though..You could also trade these with other mom’s for new choices. I’ve found another good use for old neck ties as well. They can be used to make gorgeous quilts! A great idea for a guy. Thanks for sharing all your wonderful links and idea’s. I’m retired and alone many hours a day, and throughly enjoy all of them..
Hi Jill, Thanks for your ideas and for visiting!
What a lovely project and such a cute little boy! Thanks for entering the competition on my blog. I’ve extended the deadline now until 31st July if you have more projects you want to enter. Is it OK if I use one of your photos for the roundup post?
Yes, Wendy! Use the pics and link back here. Thanks!
What a great idea!! But I really just had to tell you that your little guy could be my nephew ten years ago. I had to take and double, then a triple take when I saw him. Wow, I guess everyone’s got a twin out there. Such a cutie!!!
Thanks Jeannie for visiting! That’s so funny about the double. We think he’s a cutie, too! He’ll be 3 in 10 days!
This is such a great up-cycle! Those boys are SO cute, too! Thanks for linking up with us on “Strut Your Stuff Saturday!” We hope to see you next week! -The Sisters
Wow – nice job! Your tutorial is so detailed and I love all the pictures. It makes it much easier to understand.
I’m so glad you linked up at Romance on a dime. I’m pinning this!!
Thanks so much Betsy! Have a blessed day!
Thank yo so much for linking this up to our Crafty Showcase. We’ve enjoyed looking at it all this week and watching all the clicks were you getting on it from the link up. So I’m here to tell you CONGRATS that this post was one of our Designer Top Picks and is being featured in our Feature Friday post. We are featuring you on our blog today, facebook page, twitter and pinterest! Stop over and see your feature!
Don’t forget to stop in on Saturday-Thur and link up some more of your awesome ideas.
Have a super weekend and a fab summer!
Susie @Bowdabra http://bowdabrablog.com/2012/06/08/feature-friday-bowdabra-top-showcase-picks-2/
You are welcome for linking. Thanks so much for featuring me!!
This is great! I was going to try something similar for my sister’s wedding. They ordered ties for all the groomsmen so I was going to make a mini one for my son. Thanks!
Hi Lisa, You are welcome. They are so fun to make! Thanks for visiting!