Easy Elastic-Waist Skirt Tutorial
DIY Time
It’s DIY Time again, where I post something you can do yourself rather than buy, which is a money saver, and can be VERY REWARDING. Some of these posts are crafts, sewing projects, re-purposed ideas, homemade cleaners, homemade health aids, tutorials, and the like.
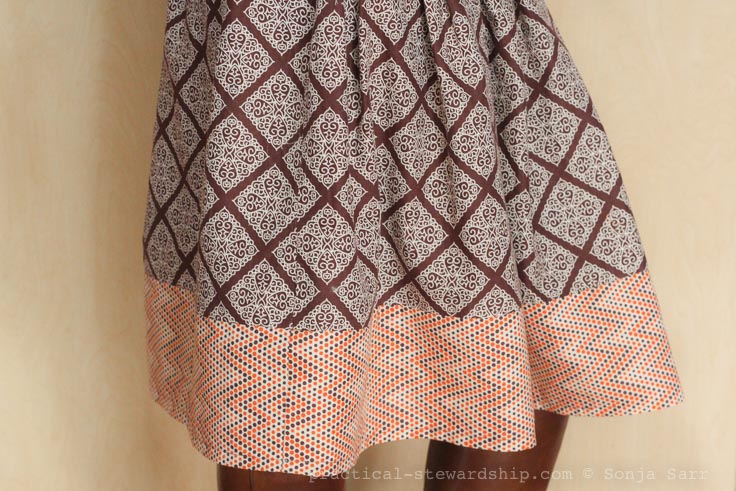
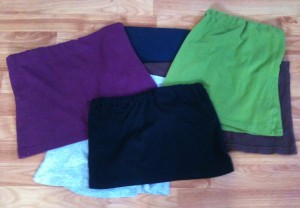
(**the brown/orange skirt is the newest addition 1/16)
I love my kids. I really do! Well, before I had kids, I had most of my Christmas presents wrapped in October and all of my high school choir field trip permission slips copied and ready for the entire school year for all four of my choirs by October (that was over a decade ago when I taught public school music and was childless). That’s the kind of person I was and the kind of person I like to be. But my kids have gotten the best of me. The great thing is that they continually teach me about prioritizing what’s most important and letting go of what isn’t.
 So I was amazingly blessed over Christmas break with about three free days and no agenda. I took advantage of the opportunity, and I just went to town sewing. I had a pile of sewing projects I wanted to tackle. Before then I hadn’t touched my sewing machine in months and was aching to get to it. Once I actually get to the sewing machine, I’m hooked. It gets hard to pull myself away from the sewing machine. I think the machine knows that once I stop sewing, it will most likely be months before I get to it again, so it keeps tugging at me.
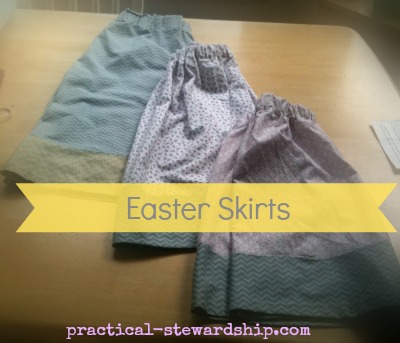
Well, during my sewing spree I was able to mend my ever-growing pile, make a few lovely baby blankies, make my first rag quilt and my first strip quilt, create some secret items I will blog about later, and make our Easter skirts. It feels so good to be on top of our Easter skirts this year! It sounds like I make Easter skirts every year, but the fact is that this year it’s a first.
 If you can make your own skirts, you can give your wardrobe an economical stylistic pop for a fraction of the price of buying a new skirt. Paired with a basic top, you can have quite a vogue, yet frugal ensemble. On Black Friday Weekend, I was able to score some fabric for close to $2 a yard (was it $1.99/yard at JoAnn’s?-too long ago to remember). So for close to $2 and less than a hour’s sewing time, I have a brand new skirt. My elastic was free for my skirt since I used the elastic from my husband’s old boxers.
Skirts are the only clothes I have made for myself and my girls. (Once I did make a set of pajamas for my toddling son, and I needed my hand held EVERY step of the way. Thank you, Cheryl!) Making skirts is a great first clothing item to create if you are new to sewing. Over the last year and a half I have made several skirts for myself and my girls, along with re-purposing a couple of dresses into skirts for my little beauties. I guess I have also made some skirts for my daughters’ American Girl dolls, so that counts, right?
I am pattern illiterate, and it’s not because I haven’t tried. For whatever reason I cannot make the process come to life from the hieroglyphics. So I am going to show you how to make an easy elastic-waisted skirt without a pattern. I am assuming you are new to sewing, so I apologize for being verbose if you are sewing-fluent. I added the instructions on the pictures for ease.
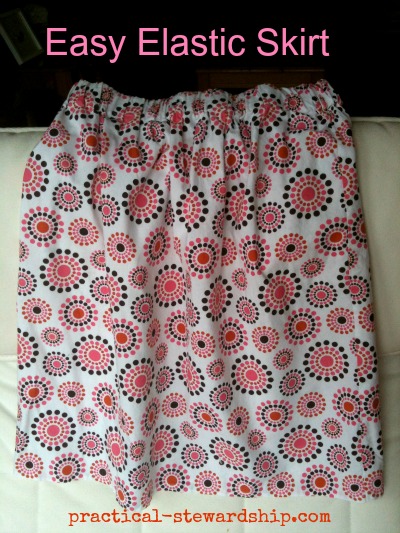 If you want to make a super easy skirt, just use one fabric and follow the first instructions. Since I love the contrast of two differently patterned fabrics, I am adding how to add the contrasting trim panel at the end of this tutorial.
What You Will Need:
- 1/2 to 1 yard of fabric, depending on skirt size (one or two patterned fabrics depending on if you are going to add the contrasting trim color/pattern)
- coordinating thread
- scissors
- elastic, at least 1/2 inch thick, but more like 3/4 inch or 1 inch thick (I have used re-purposed elastic from other skirts, pants, and my personal favorite, my husband’s boxer shorts)
- sewing machine
- 2 safety pins
- tape measure
The Instructions:
- Read through all of the instructions at least twice before embarking.
- Pre-shrink your fabric by washing it. Never, ever skip this step!
- For the skirt length: Measure your little darling from her waist all the way to where you want the bottom of the skirt to be. I like to go a little below the knee so she can wear the skirt for a long time (especially because I am going through the process of actually making the skirt). Add 2 inches to the length to make the casing (the home) for the elastic and the hem at the bottom of the skirt. So if you want a 15 inch skirt, the length of your fabric for the skirt should be 17 inches. If you want a skirt that is mid-calf or longer, you’ll probably need to put in a slit. I am not including directions for a slit today.
- For the skirt width: Measure your little darling’s waist. Double your waist measurement and this is your skirt width. This will give you a nice, full skirt. If you don’t have or don’t want to use that much fabric, take your waist measurement and multiply it by 1.5 instead of 2. One of my girl’s waist is 20 inches, so I need one piece of fabric that’s 40 inches. (By the way, if you are making an adult sized skirt or want to use up fabric scraps and don’t have a full piece of fabric the width of your skirt, you may cut two panels instead of one big one. For instance, I would have two rectangles that are each 20 x 17, instead of my one big 40 x 17 rectangle. Then you just make two side seams as in Instruction #6 instead of one side seam.)
- Cut your fabric to the correct size. This makes my piece of fabric 40 x 17. If you want a contrasting panel as shown below in the yellow, see **Optional for the trim panel at the end of this post.
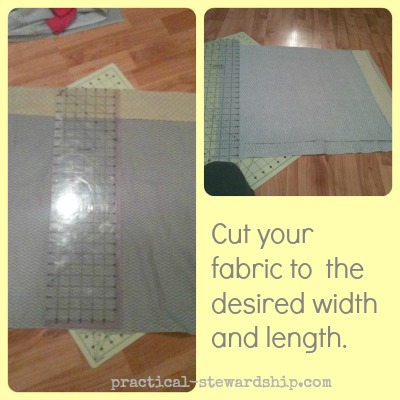
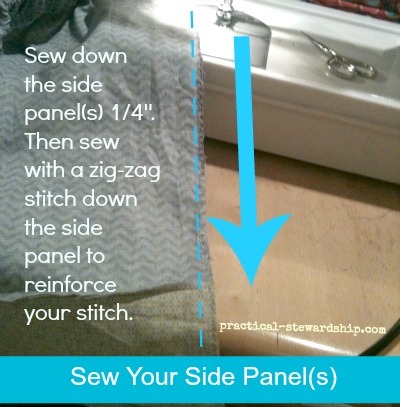
- Sewing the side panel(s) together: Fold the rectangle skirt in half so the right sides are together to make a side seam. Or if you cut two rectangles instead of one (mine would have been 20 x 17 each), place the right sides together. You see the wrong sides. Pin together all the way down the side panel(s). Sew a straight stitch 1/4 inch away from the edge all the way down the side. Then sew a zig-zig stitch to make the side panel secure all the way down.
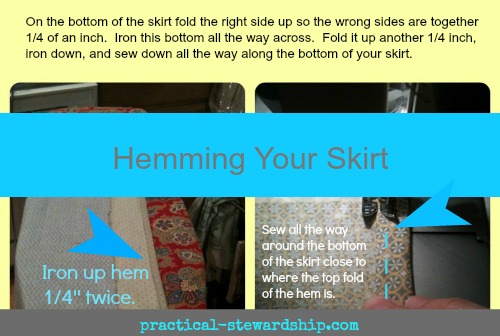
- For the hem (the bottom of the skirt): On the bottom of the skirt fold the right side so the wrong sides are together 1/4 of an inch. Iron this bottom all the way across. Fold it up another 1/4 inch, iron down, and sew down all the way along the bottom of your skirt. The bottom of your skirt is done!
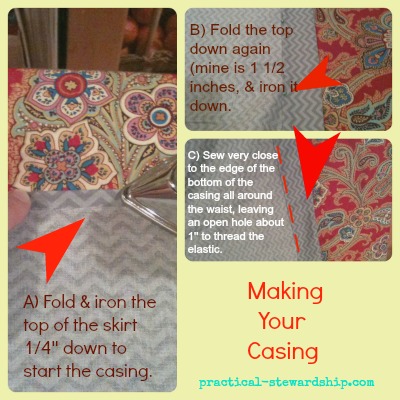
- For the casing (the elastic’s home at the top of the skirt): Iron the top 1/4 inch all the way across.
- Whatever width your elastic is, add a half inch to that number. My elastic is 1 inch, so I add a half inch to make my casing 1 1/2 inches. So fold the top down again 1 1/2 inches or whatever your elastic width is plus 1/2 inch. Iron it down. Then sew very close to the edge of the bottom of the casing all around the waist, leaving an open hole about 1” to thread the elastic.
- Determine the elastic length: Use the measurement of your waist. This is the length of your elastic. Cut elastic to size.
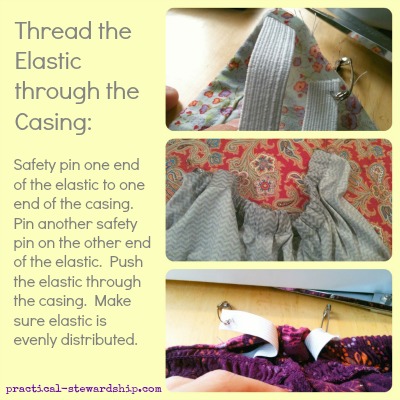
- Threading the elastic through the casing: Safety pin one end of the elastic to one end of the casing. Pin another safety pin on the other end of the elastic. Thread the elastic through the casing. Below I show 3 different skirts through which I’ve pulled elastic.
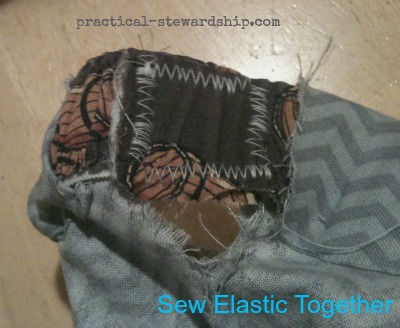
- Sew elastic ends together: Overlap the elastic 1 inch, and sew together reinforcing it over and over, or use a zig-zag stitch as demonstrated here. Here I sewed the side panel at the end-oops! If you follow the order of these instructions, you won’t end up with frayed edges like you see here.
- Close the 1” hole for the casing, iron the skirt, and you are done!!
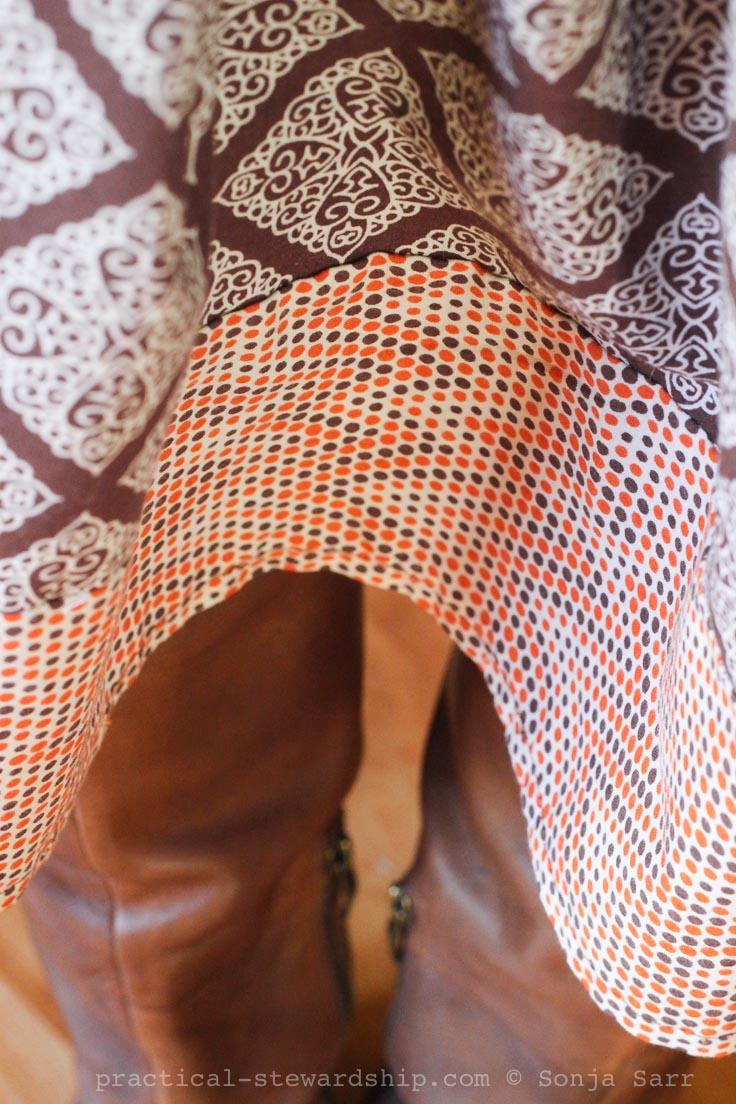
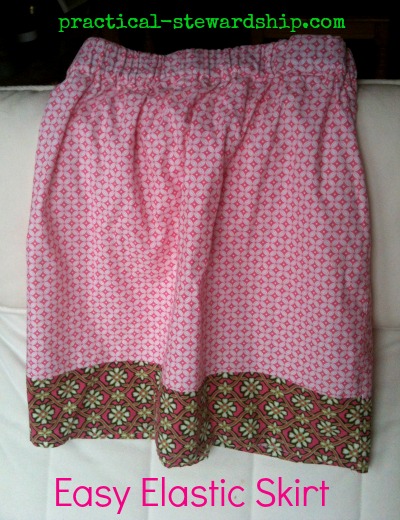
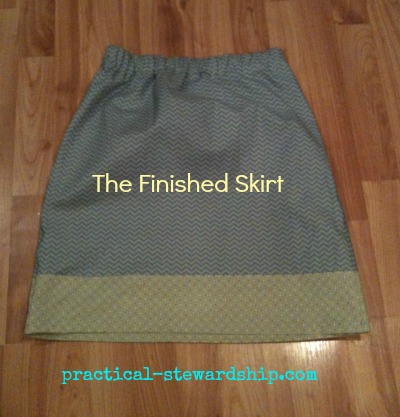 **Optional for the trim panel: If you want to add a second fabric pattern, before cutting the fabric to length as in Instruction #5, decide how much of the secondary fabric you want to show, and add 1 inch to that number. So I wanted my secondary fabric to be 3 1/2”, so I cut it 4 1/2”. Then I pinned it all the way across, put right sides together, sewed it on the wrong side with a 1/4” seam allowance, sewed a zig-zag stitch, and then ironed it down toward the bottom.
Please ask if you have any questions. I try to make the tutorial clear, but I know everyone has their own learning styles and that I am not the most articulate one.
Have you re-purposed a shirt into a skirt?
We would love to hear from you! Get free e-mail updates by subscribing here. Follow us on Pinterest, Facebook and Twitter. “Moreover, it is required of stewards that they be found faithful” (1 Corinthians 4:2 ESV). Thanks for visiting!
I am so going to make this for my first sewing project! Can you suggest what fabric to use? I want it for a summer skirt so am guessing cotton but want it floaty enough to move but not too floaty that a gust of wind blows it up! There is just so many different types of cotton fabric available – would poplin do? (As that is a fabric there seems to be a lot of!)
Hi Rachel, I have been using the Quilter’s Showcase fabric at JoAnn’s which is highly economical and 100% cotton http://www.joann.com/search/_quilters%20showcase%20fabric/ . I honestly don’t know anything about poplin, but in a quick search I did about it, it seems to be used with skirts a lot. I hope this helps. I am sorry that I couldn’t share more with you. Thanks for visiting!
Hi Sonja – thanks for the speedy reply. I’m in the UK – so that link is no good! But will use that link to search for something similar. I so want to get on a make a skirt but once I have finally decided on the type of fabric I know it is going to take me an age to narrow it down to one pattern!
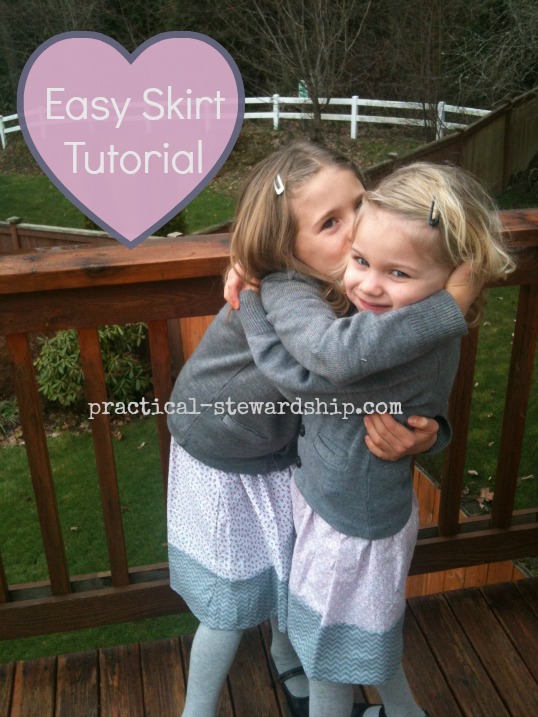
Great tutorial! The skirts look great, but the little girls are even cuter! I enjoyed stopping by your blog. Thanks for the inspiration.
Warmly, Michelle
Hi Michelle, Thank you, and thanks for visiting!
I really want to make some of these easy skirts for Summer. Simple and beautiful! New follower! Would love for you to take a look at my blog as well! Jessica http://www.barefootbysea.blogspot.com
Hi Jessica, The skirts really are so simple. I hope you enjoy! Thanks for visiting!
So cute! Great project but even better picture of your girls. I have not mastered the art of sewing clothes, but love blankets and quilts. Perhaps it’s time to step out of my comfort zone!
Hi Emily, I really think skirts are a great first clothing item to make. Thanks for visiting!
Great idea. I used to make easy things like this for my children. I should consider it for my grandchildren. And you have the cutest models : ) Bless you, Gail
Hi Gail, Thank you for visiting and sharing. I bet your grandkids would love some skirts. God bless you and your family!
Oh I love this! I make a lot of elastic waist skirts for the summer. My daughter loves to play in them, and they are so easy! Great tutorial!
I just made a very similar Easter skirt for my daughter though the post won’t go live until next week. I love the idea of adding a coordinating panel because while my daughter was wearing her skirt today, I realized it’s a little loose, so the waist will most likely fit her again next spring though it will be too short. Thanks for the idea!
Hi Bonny, That is such a great idea to add length to the skirts. And these skirts can have a lot of “give”, so thanks for sharing that perfect idea!
These are adorable! I’ve been wanting to make a skirt or dress for my daughter for Easter! I’ll be keeping this one pinned for sure!
Hi Kara, Thanks so much. They are so quick to make (much faster than writing the tutorial:)! Thanks for visiting!
This is a very nice tutorial and a great encouragement to those of us who would like to sew for girls! Thank you. Your skirt is darling!
Thanks Yolanda!
Great tutorial. Easy to follow and cute result.
Hi Donna, Thanks so much, and thanks for visiting!