Easy DIY Rag Strip Quilt
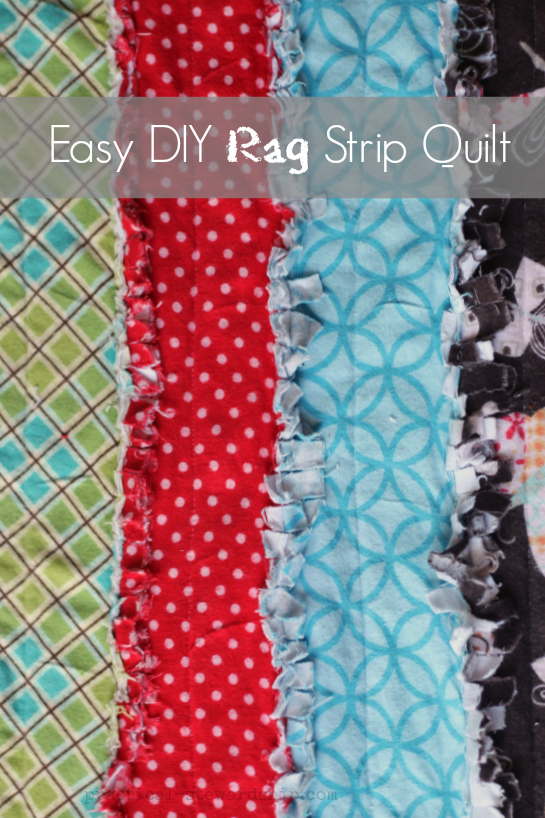
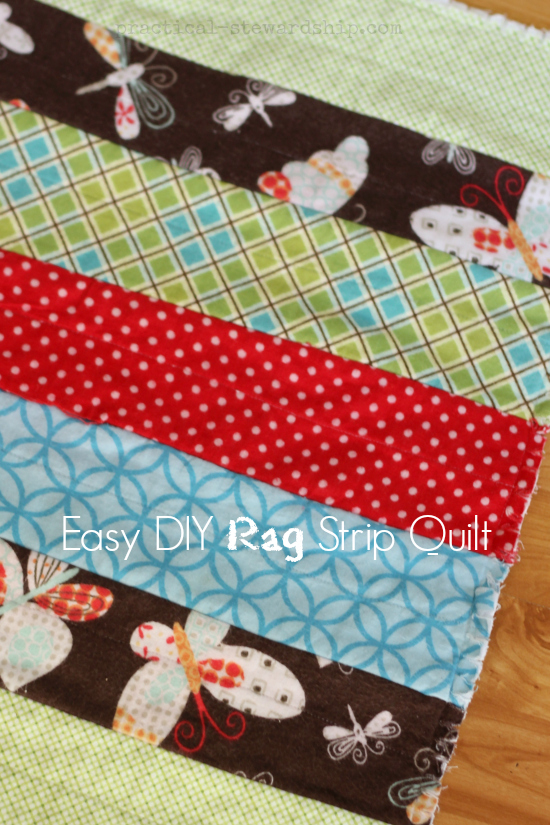
I am so excited to shared this easy peasy DIY Rag Strip Quilt tutorial. If you can sew a mostly straight line, you can sew this quilt together. Rag quilts are very forgiving and easy to put together. Did I say easy? My 7 year old assisted me in making one of the last rag quilts I put together, so bring your kids along for the fun.
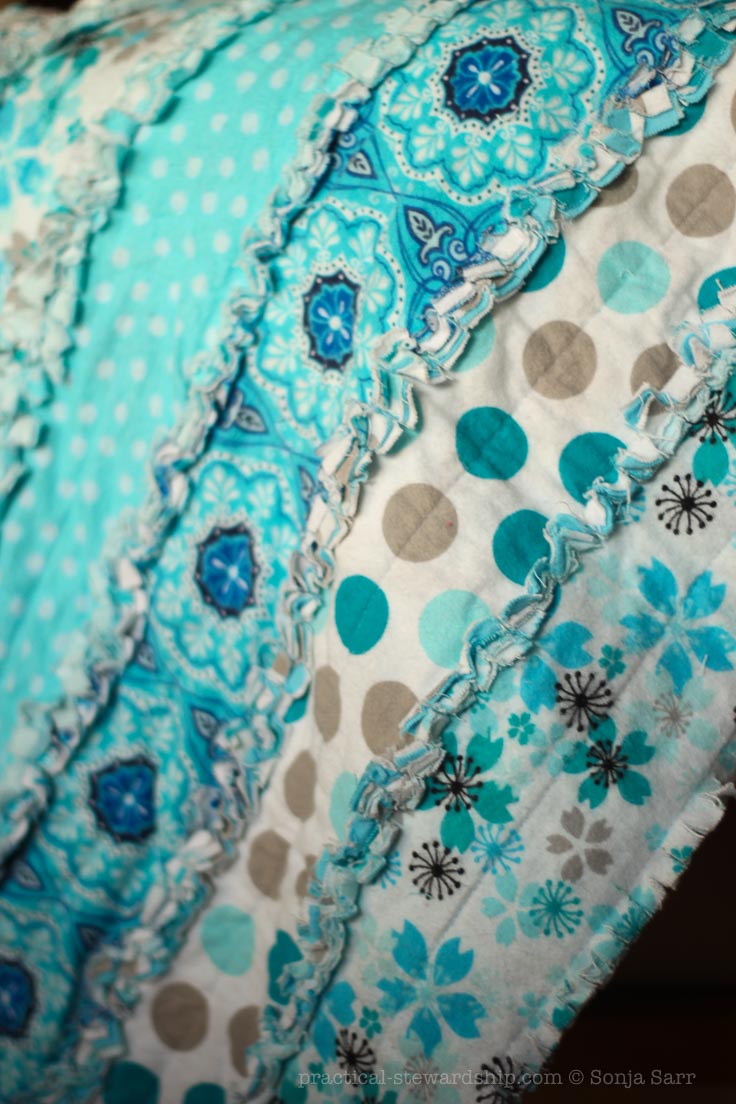
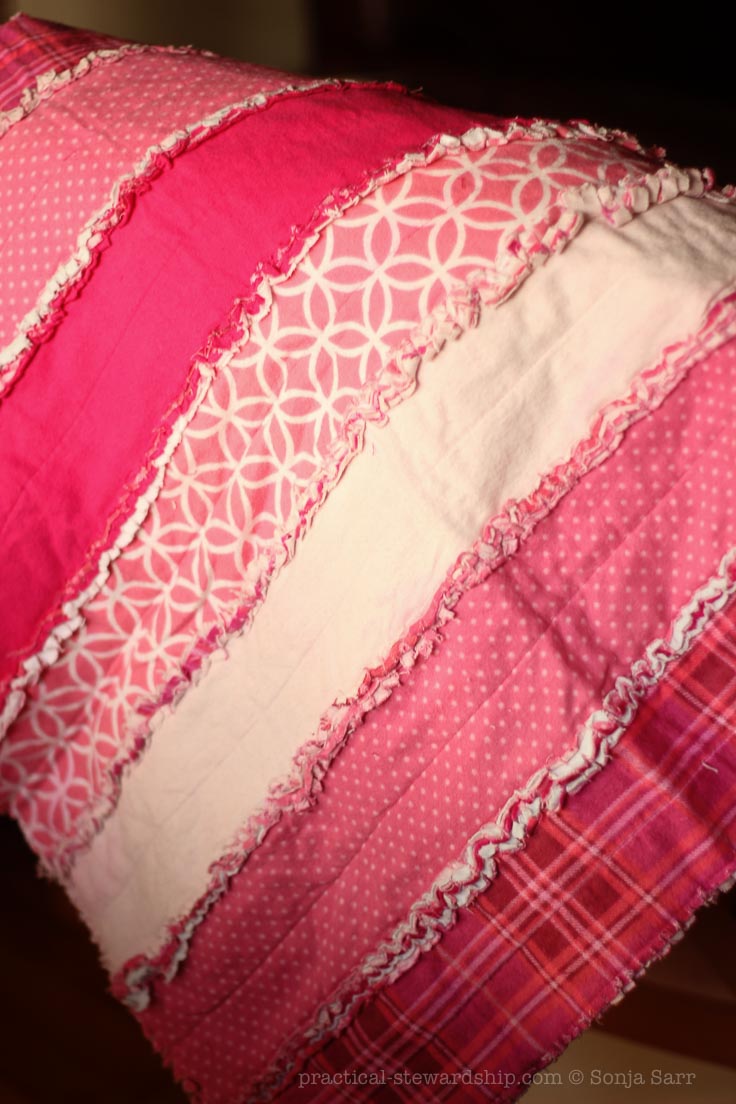
Updated 2/18* Throughout the post I’ll show you a few different easy DIY rag strip quilts I’ve done over the years for color and design inspiration.
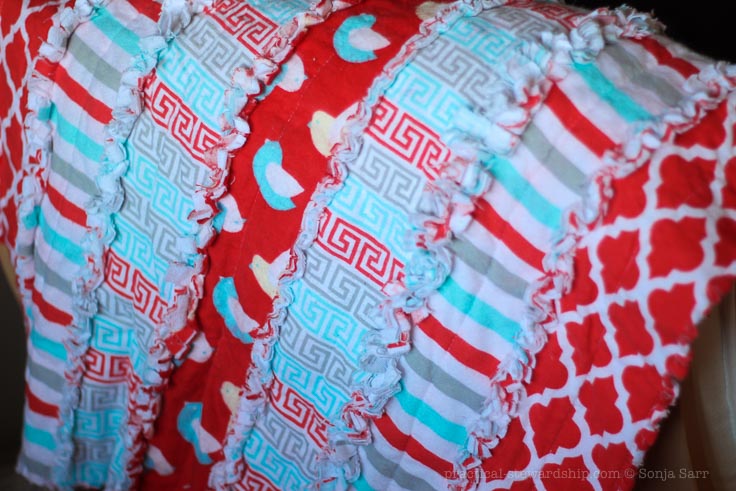
If you scroll down all the way to the bottom, you will see different color combinations of rag strip quilts I’ve done.
Easy DIY Rag Strip Quilt
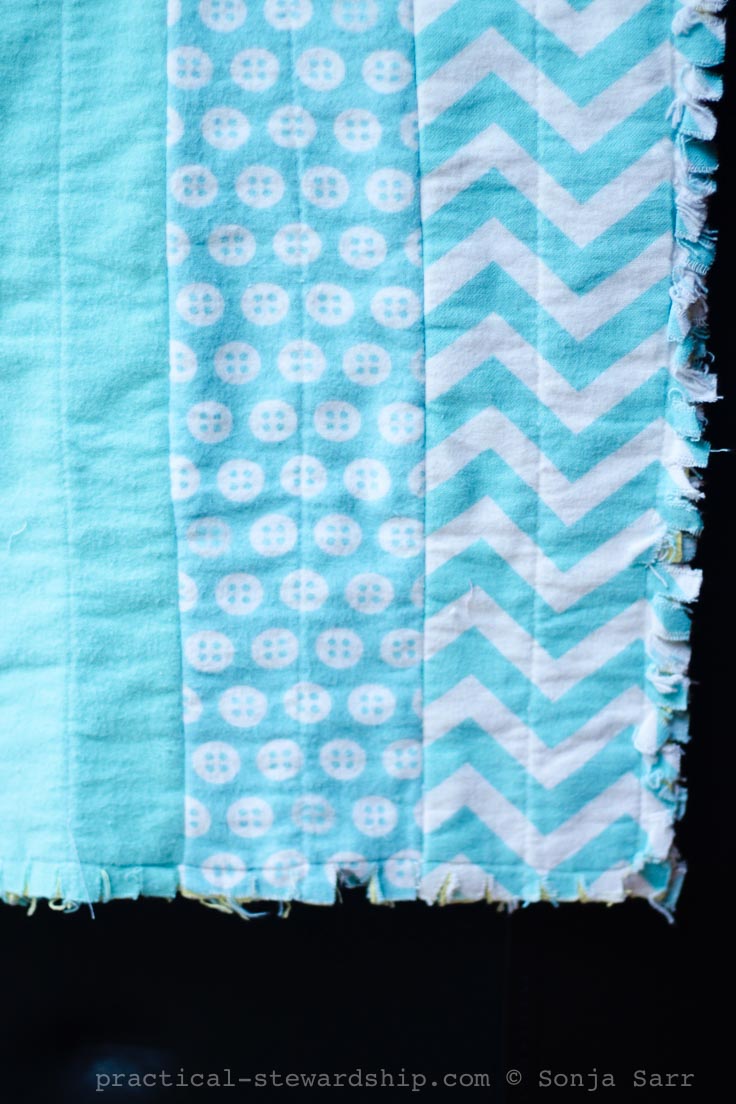
Seriously I’ve been wanting to post this for over two years.
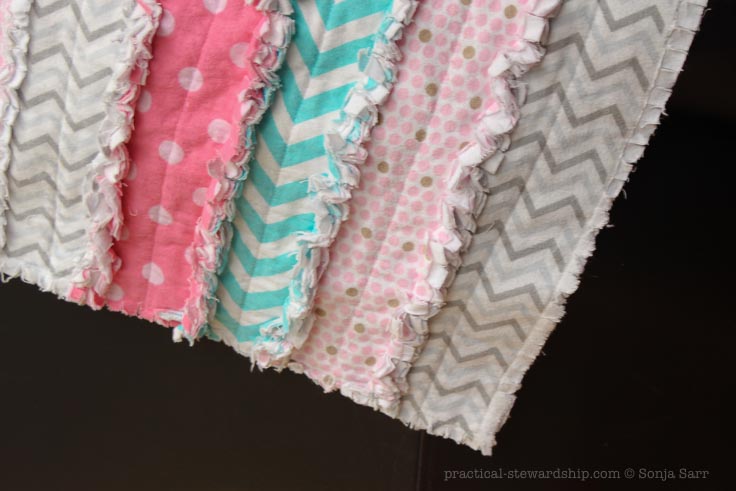
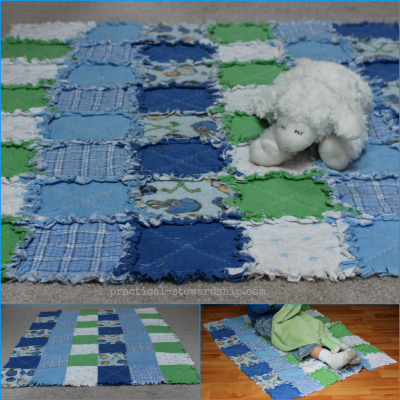
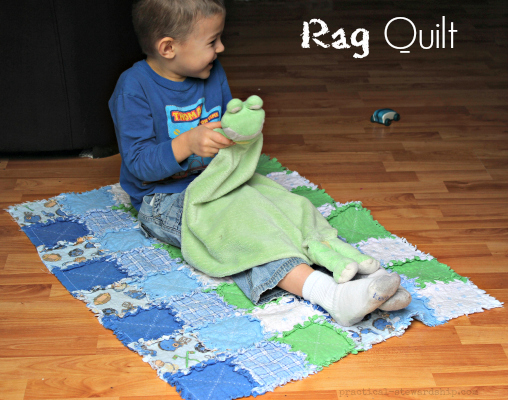
When my son was born in 2009, my friend Merri gave us this awesome rag quilt made out of squares pictured below. I always had admired her work and started to learn to sew the following year when I really started appreciating all of the time and effort she put into her work.
Merri’s quilt inspired me, and finally during Christmas Break 2012, I made my first strip quilt.
Why make a strip quilt instead of blocks you just might ask? Well, with a strip quilt you get similar fringy results with less work.
Also, a strip quilt is WAY faster to sew because you are working with larger portions of fabric. 7 rows of strips, and each strip has 3 layers, so altogether you’ll need 21 strips. With a block quilt you need 6 rows by 8 rows equals 48 squares times by 3 layers: that equals 144 squares to cut. No thanks! At least at this point in my life:). I’ll just sit back and admire Merri’s block quilts. Sounds like my kinda deal!
The Rag Strip Quilt was so fun to make and the whole quilt came together in about 3 hours my first time. Seriously?!? I was so excited and I didn’t even know who I was making the quilt for. I just wanted to make it. I was excited when my girls said they’d love to have it in their room. The last one I made took 1 hour of cutting and sewing, and about an hour to cut the fringe. So I am getting more efficient.
So in one dedicated afternoon you could have your own strip quilt.
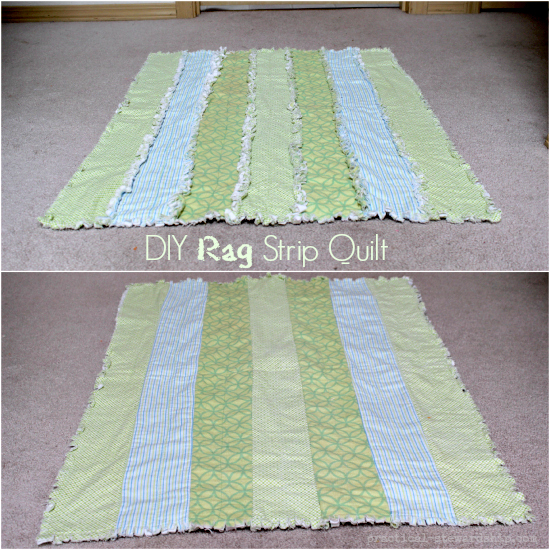
You’ll need 7 rows of strips, and each strip has 3 layers, so altogether you’ll need 21 strips. For each layer I use a print, a white or solid strip, and then the same print as pictured in the first square below.
What You Will Need:
- coordinating flannel (you can use re-purposed fabrics and old flannel baby blankets especially for that middle layer)
- coordinating thread
- sewing machine
- fabric scissors
- cutting mat
and rotary cutter
(almost a necessity-these will help you cut super fast, but if you are new to sewing and don’t want to invest in these yet, you can get by with your scissors.)
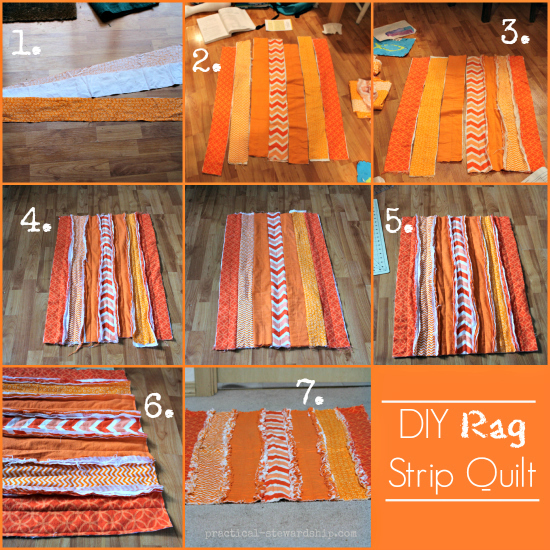
So, in a nutshell (refer to picture above for reference):
- (1.) Decide which colors you want next to each other. I play around and try different color combinations trying to get an eyeappealing layout.
- Cut out 21 strips of flannel, 4 inches X 32 inches each. (Feel free to add more rows than 7 or make them longer or shorter. This tutorial is just a guide. I’ve made the strips 28 inches before, and it looked just fine, too.)
- (2.) Arrange the strips in seven rows with each row containing three layers like a sandwich with the right sides facing out on the back and the front layers.
- (3.) Take one row and sew the three layers together right down the middle in a straight line. Repeat this for the rest of the other six rows.
- (4.) I will call the shaggy side the top side. Now lay all rows down in order, deciding which side will be fringy/shaggy top side. Sew the strips together the long way making sure the raw edges are only apparent on one side with a 1/2 inch seam allowance. Do this until all strips are sewn together.
- (5.) Use the rotary cutter to make the length of the edges even.
- (6.) Sew around the perimeter of the blanket with a 3/4 inch seam allowance. You’ll run over the strips, and that’s fine. It’s okay if it’s not perfect. The blanket is very forgiving.
- (7.) Snip around the edges of the blanket every half inch or so to make it shaggy.
- Wash the blanket once or twice to make it shaggier.
- Enjoy!
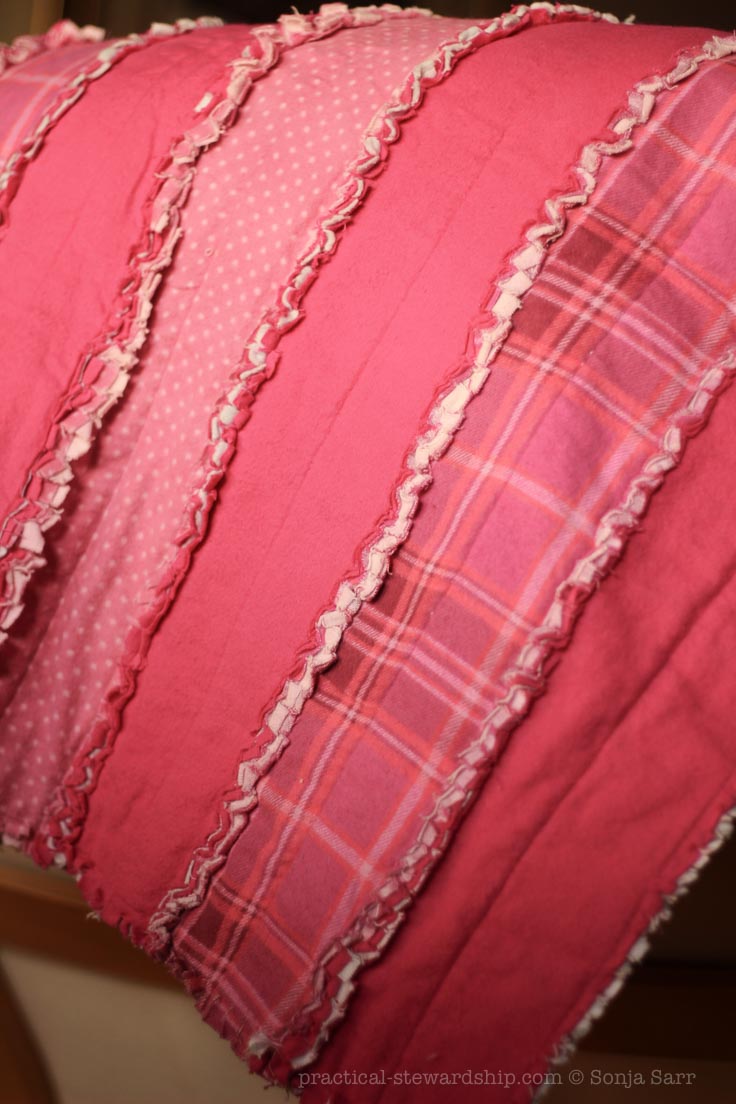
Let me know if you have any questions. I hope you enjoy!
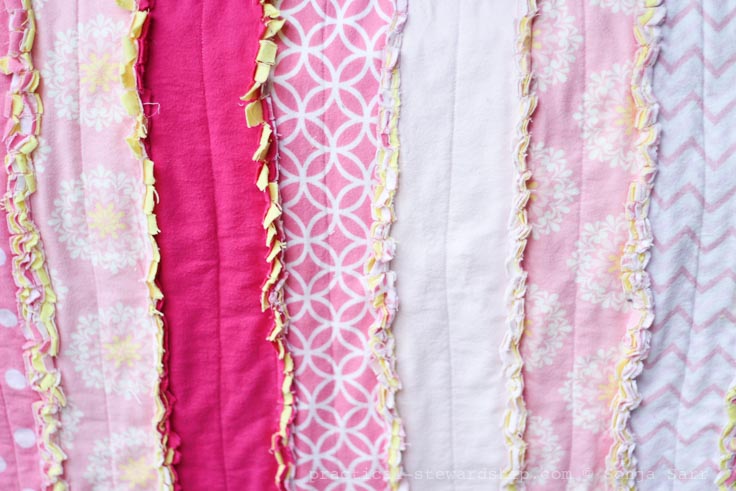
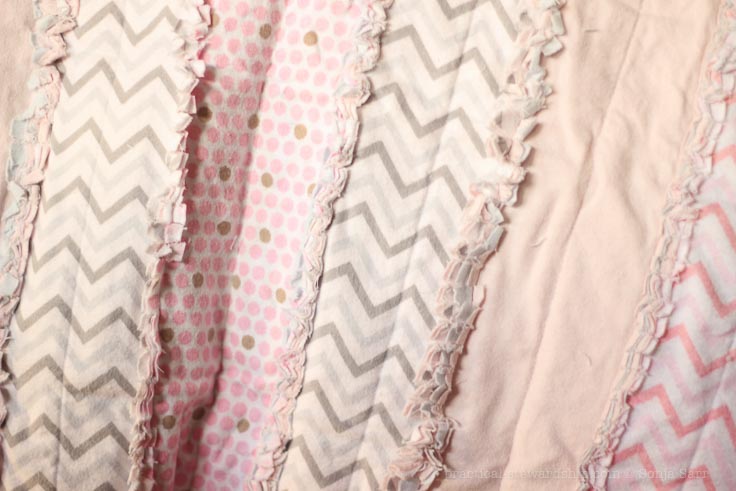
I love how this pale pink one turned out.
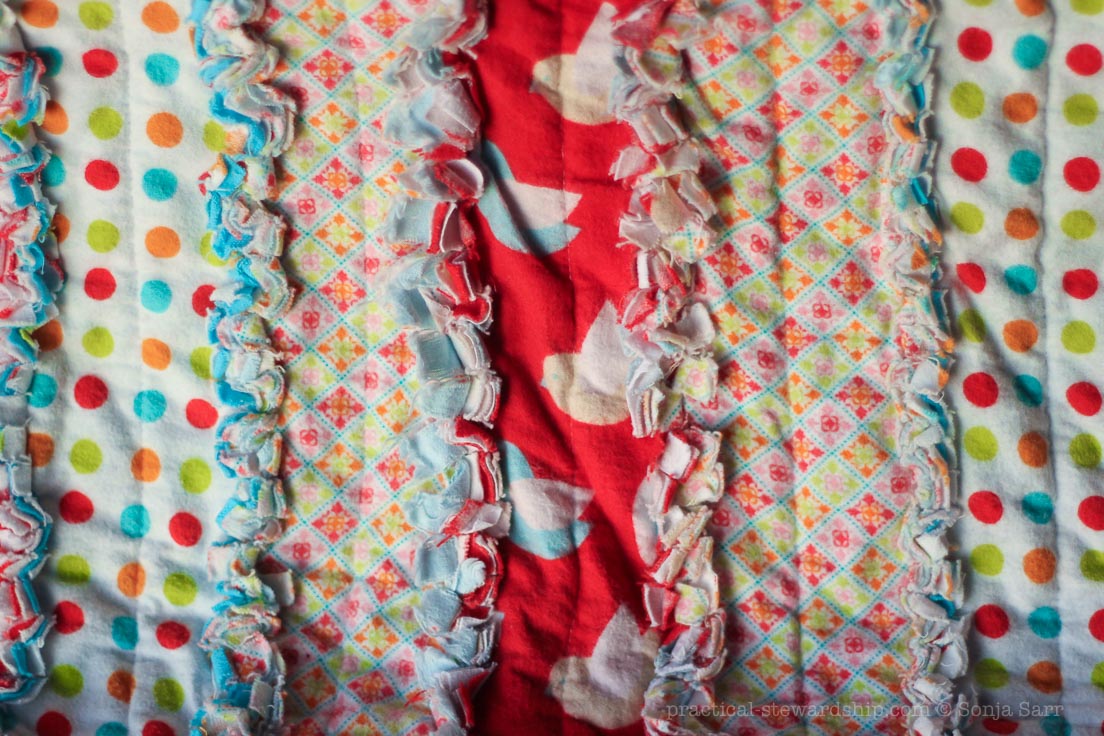
and probably my favorite with all the red and blue, and polka dots…
and another…
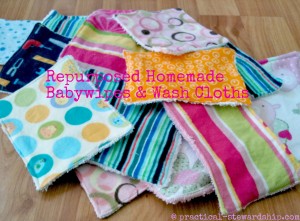
Have you made reusable baby wipes? Super easy and cute.
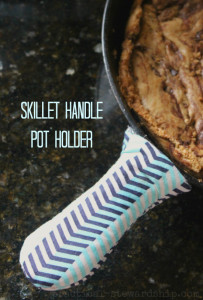
Have you made a pot holder for a skillet? So easy and and comes together in no time!


these r all so pretty. will u plz. tell me how/when u trimmed yr strips…how do u do it 2 ensure they r all the same length? tku
If you are makinking a king quilt. How long do the syrips have to be. Do you know how many yards of material for a king. Does it need to be flannel. Thank you?
Hello! I actually don’t know how long strips need to be for a flannel blanket. When I have used the scraps that weren’t long enough, I have sewed strips together to make them longer so you can make the blanket as long as you want. The biggest thing you need to do to make it fit is to wash your fabric so you know how much you’re working with. The thing about working with flannel, it gives it a little bit more thickness. If you made this with a fabric like quilters fabric it would be much thinner. And the frame would be different. You’re welcome to try it, but I can’t guarantee anything. God bless your endeavors!
I was reading your instructions. Question. Are all the strips all 3 layers the same size? You are using all flannel for your layers correct. The sew down the middle and when you sew 2 strips together it is half inch seam. Then snip.
Some instructions leave out a piece of information. That is why I am writing you. I like to idea and have a lot of flannel to use.
All three strip layers are the same size.
All of it is made of flannel.
When I so 2-3 layer panels together it is a half inch seam allowance.
I hope it goes well for you!
I have made 20 plus square cut rags quilts in the last month. Needless to say, I have lots of strips and extra fabrics. Is it ok to seam strip pieces together to make them long enough?
I’d say yes, try it!
This project is perfect for the spring days when it’s raining cats and dogs and we want something to do. I think I’ll make one, fold in thirds, and use as a table runner/hot pad. Thanks for posting! Maybe even a great 4H project, too.
Hi Linda. You are welcome. I have made a shoulder bag and hand bag out of this strip quilts too. Great idea to make a table runner/hot pad! Thanks for sharing, and blessings!!