It’s DIY Time again, where I post something you can do yourself rather than buy, which is a money saver, and can be just plain fun! Some of these posts are crafts, sewing projects, re-purposed ideas, homemade cleaners, homemade health aids, tutorials, and the like.
We’ve been getting outside and doing some yard work with these nice, sunny days the Lord has blessed us with in the Pacific Northwest the last couple of weeks. As we have been out, I have realized there are lots of opportunities to take ordinary trash and turn it into a garden treasure. Here are three of my favorite ideas I have been utilizing recently.
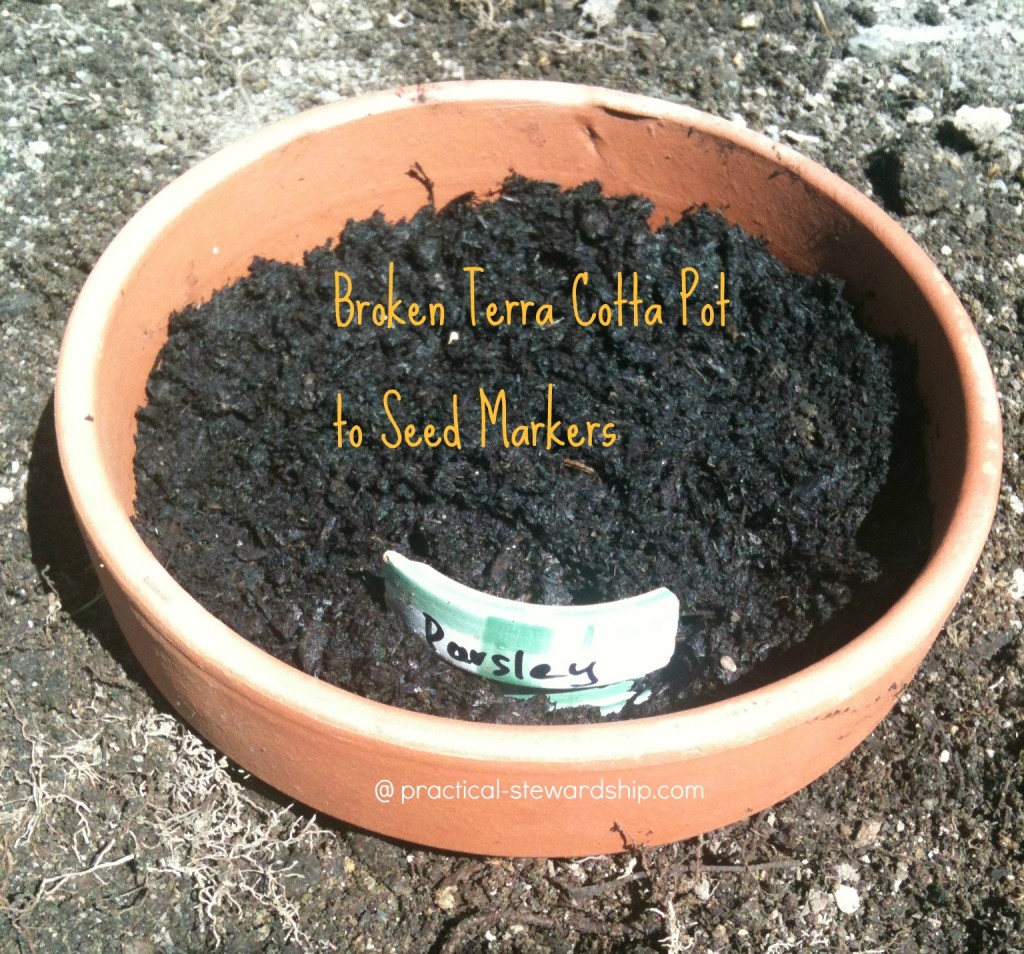
Re-purposed Item #1: The Broken Terra Cotta Pots to Seed Markers If you need to mark your seeds, you can use broken terra cotta pots and write the names on with a permanent marker. I am sorry; I can’t remember where I saw this idea to give it proper credit. Originally I didn’t think I was going to mark my seeds like this, but then somehow two mini terra cotta pots broke right before it was time to mark my seeds. (I wonder how that happened with a 2 1/2 year old and five year old around….) The terra cotta pots were already painted a friendly white and green.
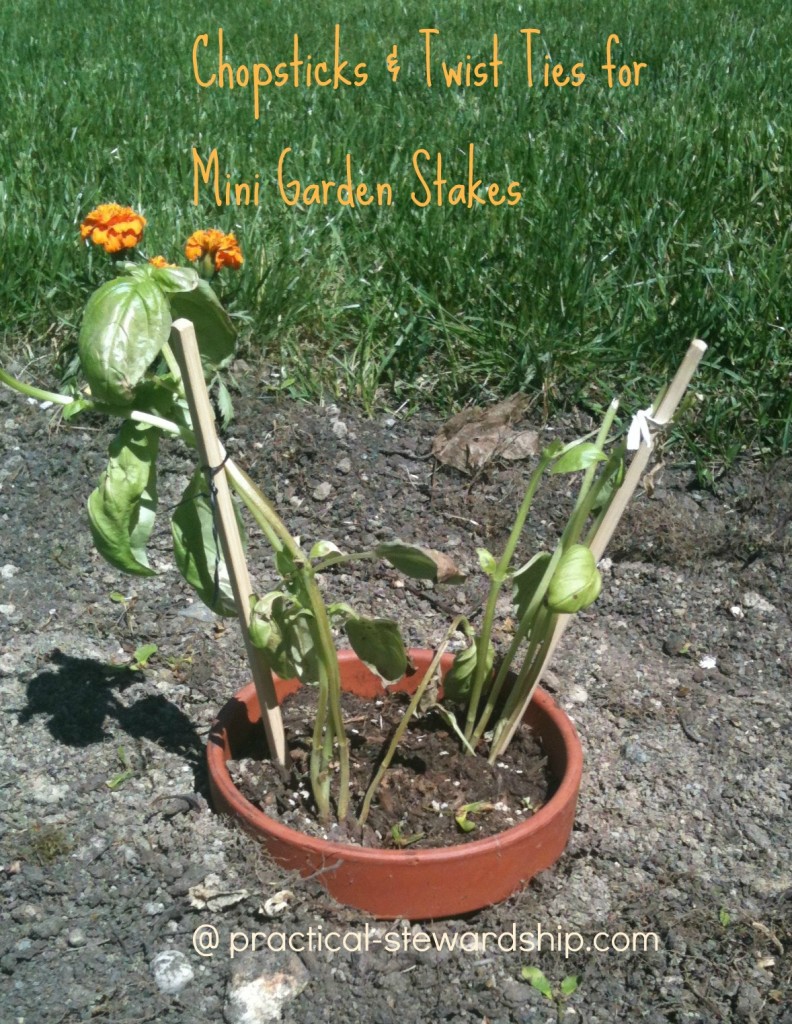
Re-purposed Items #2 & #3: The Chopsticks to Mini Garden Stakes with Old Twist Ties
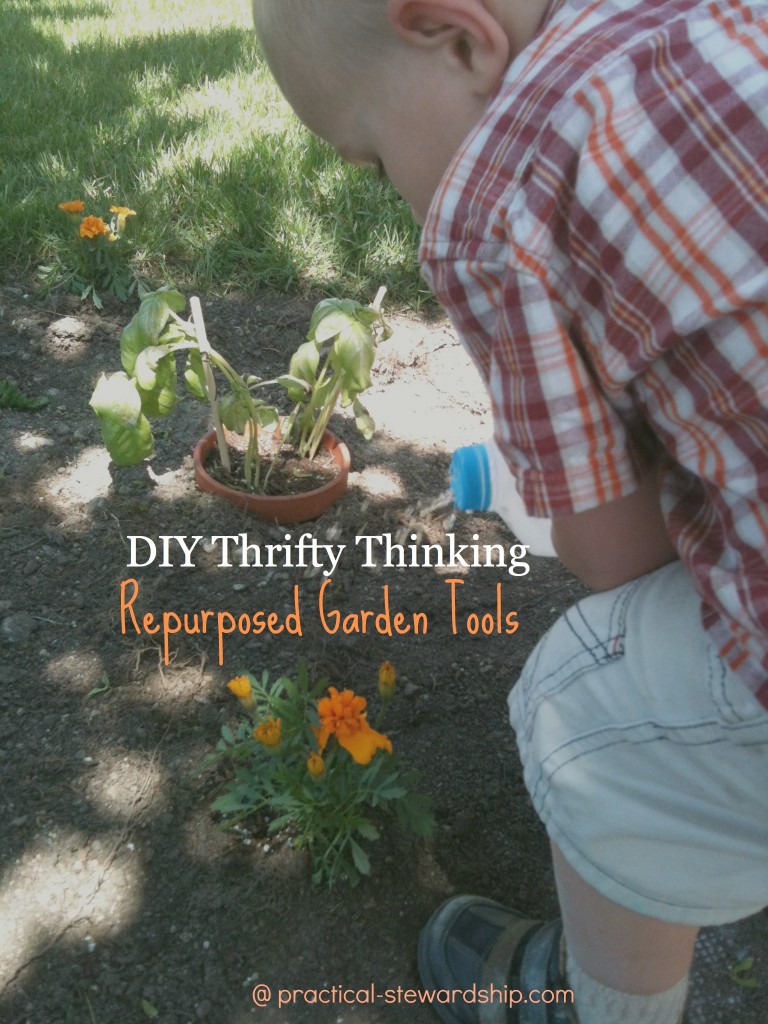
A few weeks ago we were making pinwheels using chopsticks. As we were watering, I noticed that my basil I bought at Trader Joe’s was looking kinda wimpy, and I thought those leftover chopsticks would make great mini garden stakes. I also keep a few old twist ties around from old bakery items that worked great for propping up the limp plants to the chopsticks.
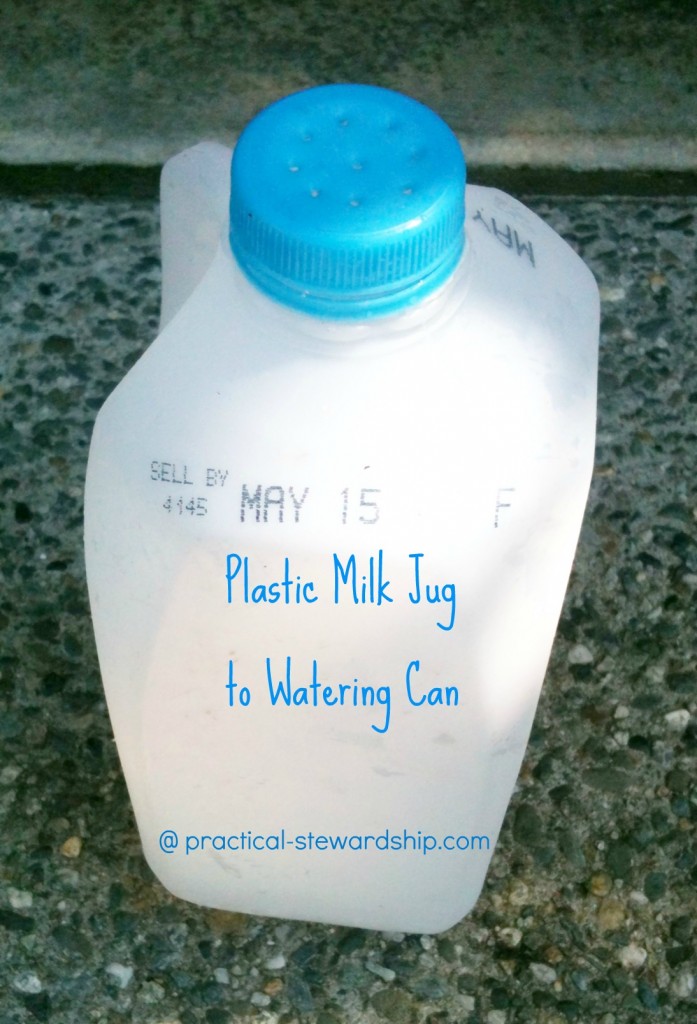
Re-purposed Item #4: The Plastic Milk Jug
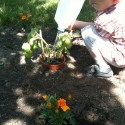
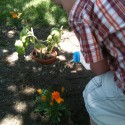
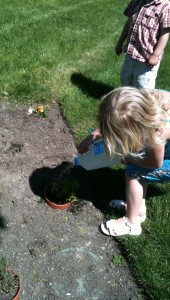
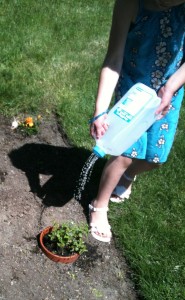
This is my favorite re-purposed item for the garden, our half gallon milk jugs to watering cans. These are absolutely perfect for the young ones that simply want to drown water the plants. It provides a steady stream of water that isn’t overbearing. Did I tell you how much I dig this invention?
What You’ll Need:
- plastic milk jug
- ice pick, or something to poke holes
The Instructions:
- All you have to do is take an ice pick and poke holes through the top of the milk jug. We left the top on the jug to provide stability. The ice pick went through the milk jug top nice and easily. So easy!
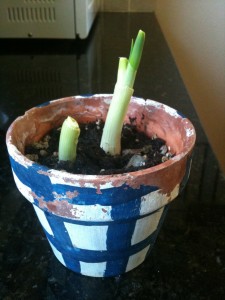
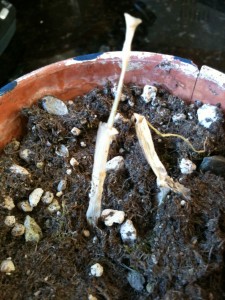
Here is an update from growing our own green onions. These are green onions that I actually planted in a pot. Here is utter failure on the right. This picture shows the two green onions about three weeks after planting. I have to admit this first set that you see on the right had NO chance when I planted them. The nubs were slimy at planting. You have got to get rid of the slime to have a chance at success.
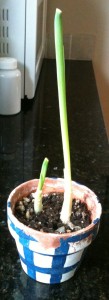
The next picture below is day one in the pot for the plant on the left, and about day five for the plant on the right. Much better! You can see the one on the right sprouting.
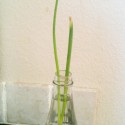 I still try to keep green onions in a bottle at all times, and they seem to thrive!!
To the right, this is about another week later. Looks like they are surviving and thriving!
Below I have the lonely ol’ red bell pepper we planted. Can you see it? Can you see it? This was my only seedling that came up of twelve. Guess what? Someone knocked over my nice egg carton, and suddenly I was left with no hope of any red peppers here.
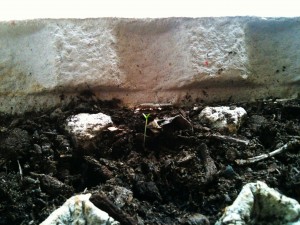
For a couple of years I have kept a random small container of seeds on my windowsill. Just a few. They are seeds from food that me and the kids have eaten, and we thought it would be fun to keep and plant someday. There were three seeds from apples, three pumpkin seeds, one grapefruit seed and some others I can’t recall now. I planted them all, and I was SHOCKED to see this appear a few weeks later. I don’t know what led to it’s demise. Did we over-water it? Under water it? We used a spray bottle to keep it moist. All that to say, it plain didn’t make it. 🙁
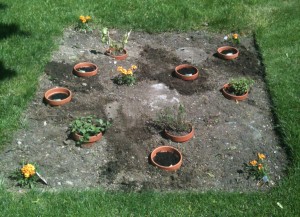
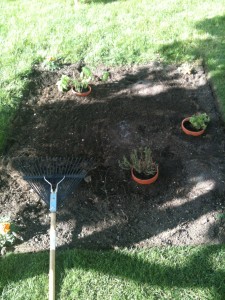
Here is our herb garden area. We have three utility access boxes buried in this area that we have to work around so I couldn’t really do anything symmetrical. We tilled the area after clearing it. I decided to put the plants and seeds in six-inch terra cotta pots in this area because of the utility boxes, and not knowing if the soil is good. I figured I could just pull them up and move them if this area doesn’t work out for them. I put in a mixture of established plants (basil, oregano, thyme) and seeds (parsley, basil-because we all love it, and cilantro).
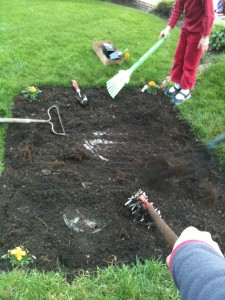
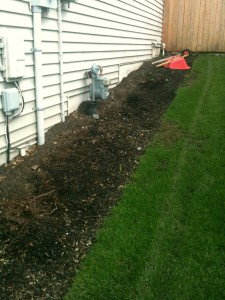
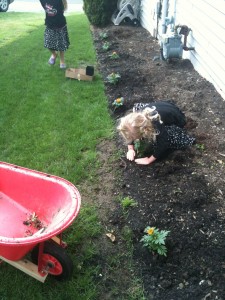
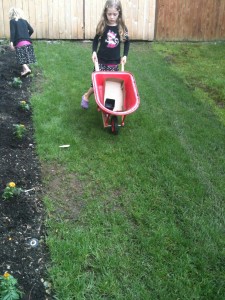
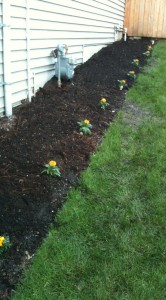
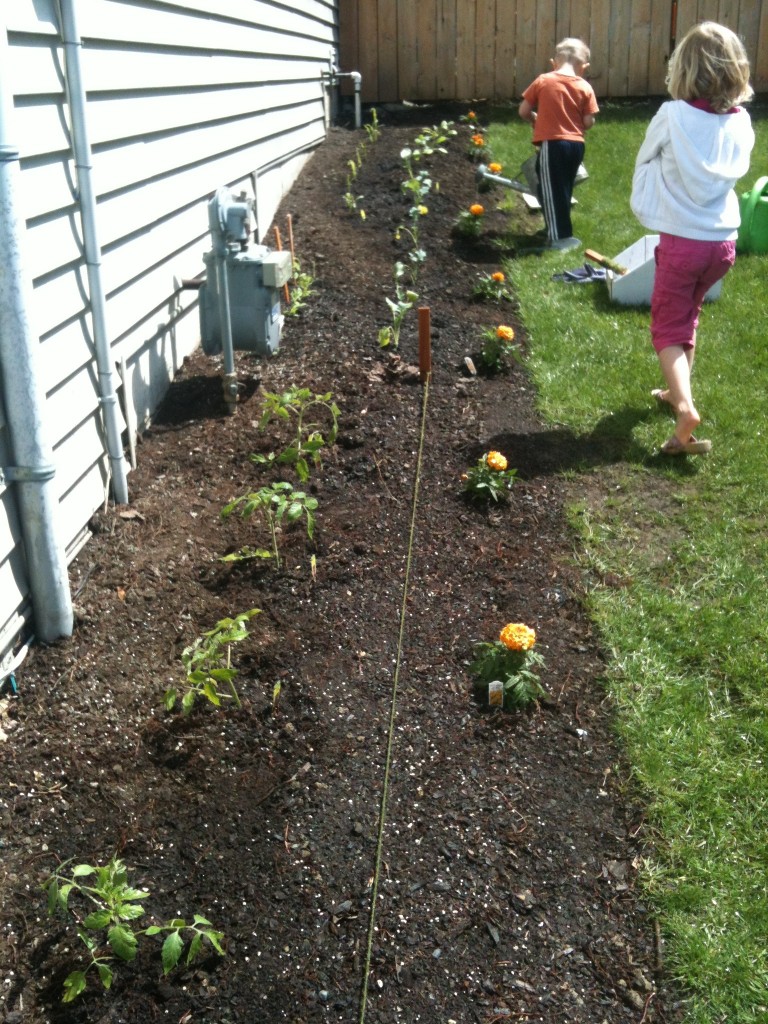
 Here is the side of the house that we cleared for our vegetable garden. We planted the marigold to help keep nasty critters away since we hear their scent detracts some nasty pests. We try to involved the kiddos through most of these processes.
We bought some plants because we did want guaranteed success, although we know nothing is guaranteed and every breath is from the Lord. Well, we got some tomatoes, corn, broccoli, cauliflower, peas, and planted some radishes and lettuce (in two containers) from seed. Thanks T, for helping me plant!
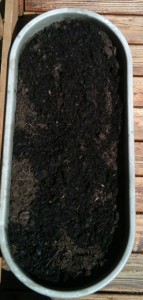
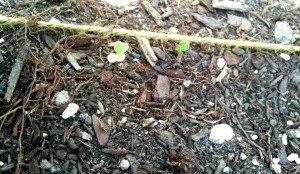
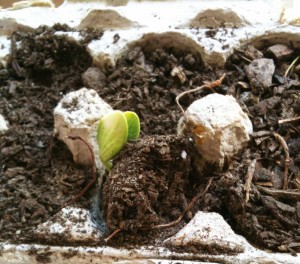
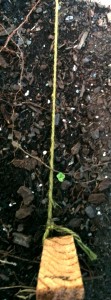 Our first “it-bit” I call it is on the left and below: radishes. We saw this seven days later. JSarr was about to weed this and then he saw a whole row of “weeds” before pulling. Yay! Some seedling success.


These are some great ideas! I bet that milk jug watering can works very well.
I would love it if you would share this at the Smart Solutions linky party. You can link up here:
http://theprudentpantryblog.blogspot.com/2012/08/prudent-projects-and-smart-solutions.html
Have a great day!
Hi Sonja! I love the milk jug idea too and going to use it immediately since we have the most frustrating water jug! Made me teary to see Joshua’s cute outfit — I have pics of my 11-year old Jack wearing that at Joshua’s age! Good to see it again and to see it “re-purposed”!
Hey Piper, That is so sweet about Joshua’s outfit! We love reusing!!! Thanks!!!
Very cute and creative ideas here.
Thanks for joining the WNWNW party over at http://prettyshabbyuk.blogspot.co.uk/2012/06/waste-not-want-not-wednesday-1.html, look forward to seeing you next week.
Thanks so much for sharing on Whole Foods Wednesday. You are the feature post today 🙂 Stop on by and check it out. http://wholelifestylenutrition.com/whole-foods-wednesday-recipe-swap/whole-foods-wednesday-your-best-recipes-and-tips-7/ Love this post, so many great ideas! ~Halle
Hi Halle! Thanks so much for the feature!! I really appreciate it! Thanks for visiting! I love your blog!
Thanks so much for sharing these awesome tips at Tiny Tip Tuesday! That milk jug idea is brilliant! Your garden looks amazing – here’s to a fruitful harvest, God-willing! 🙂
Super fun post and great ideas! We are so glad you came to another week of our fun “Strut Your Stuff Saturday”. Please join us again! -The Sisters
Thanks, and glad you stopped by!
These are wonderful tips! Thank you so much for sharing at Sunday Round Up! I hope you have a wonderful week! -Kayla 🙂
Hi Kayla, You are welcome, and thanks for visiting.