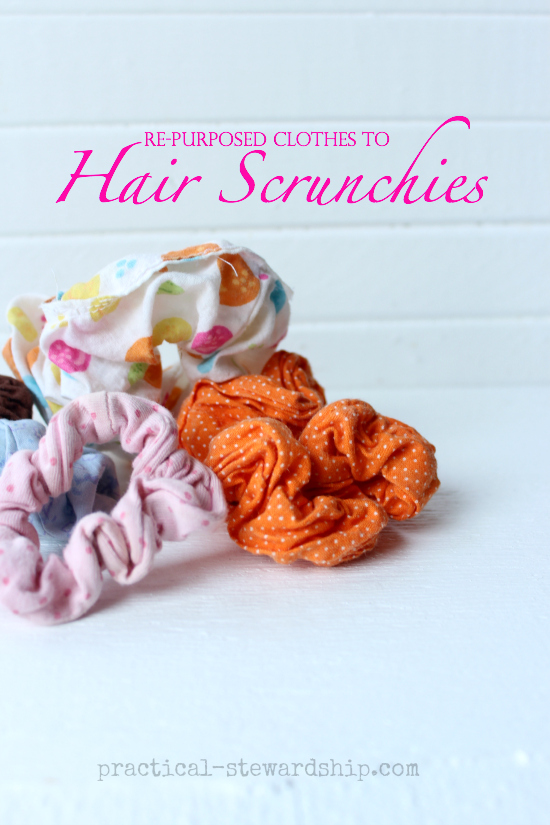
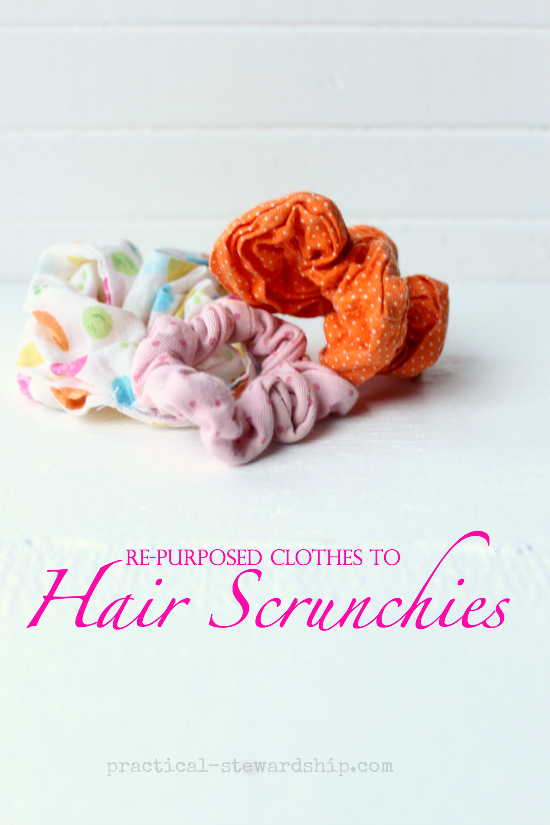
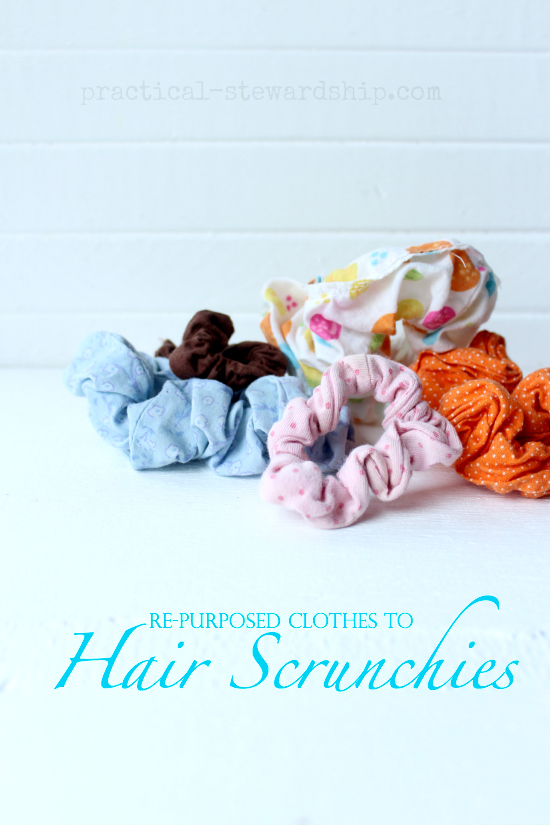
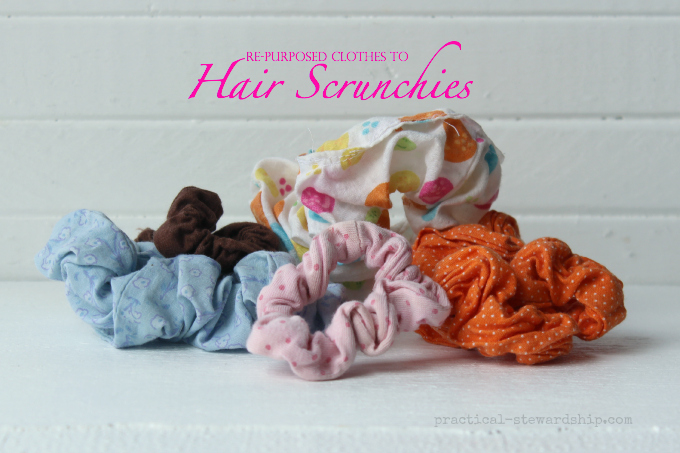
Re-purposed Clothes to Scrunchies Tutorial
DIY Time
It’s DIY Time again, where every week I try to post something you can do yourself rather than buy, which is a money saver, and can be VERY REWARDING. Some of these posts are crafts, sewing projects, homemade cleaners, homemade health aids, tutorials, and the like.
May be scrunchies are out of fashion: I don’t know, but I use them all of the time. I love to have my hair up when I exercise and almost all of the time, really.
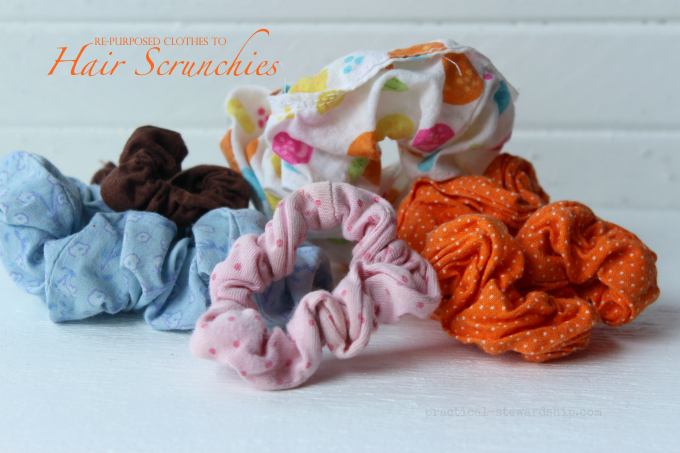
What I love about sewing scrunchies is that they are so small, they virtually require no time at all. They are a perfect item to make out of scraps or old clothes, especially out of little girls’ clothes that may have a stain and the print design is so cute I hate to throw away. In fact the blue flower scrunchie shown in the feature picture above came from fabric that was on a broken baby mobile. I have used old baby crib sheets and stained dresses, too. It’s so fun to re-purpose!!
Re-purposed Clothes to Scrunchies Tutorial
What You Will Need:
- a rectangle of re-purposed fabric or scraps
- matching thread
- sewing machine
- elastic 5”-6” long (width of elastic is up to you: I’ve used skinny elastic and elastic that is 3/4” wide)
- two big safety pins
The Instructions:


Have you made your own…?
- Re-purposing Men’s Ties to Boys’ Ties: 3 Picture Tutorials
- 4 Super Quick DIY Re-purposed Garden Ideas, Green Onions, & Garden Update
- Repurposed Tin Can to Flower Pot, Vase, & Musical Instrument
- DIY Repurposing Old Clothing to New Clothing
- DIY Cloth Baby Wipes or Washcloths
How fun! I remember making a whole pile of those with my mom, when I was little. I should totally do it with my little girls.
A very nice idea indeed. My girls would love these. Thanks for sharing at repurposed ideas weekly.
Glad I found this through It’s a Keeper’s linky party. I linked in a salad using leftover roast lamb. Have a super week.
Great idea! Thanks for joining the party at One Creative Weekend!
These turned out so cute. What a great way to re-purpose scraps of fabric.
I would love it if you would share this at my new Smart Solutions linky party. You can link up here:
http://theprudentpantryblog.blogspot.com/2012/07/prudent-projects-smart-solutions-linky_13.html
Have a great day!
Going to have to try this!