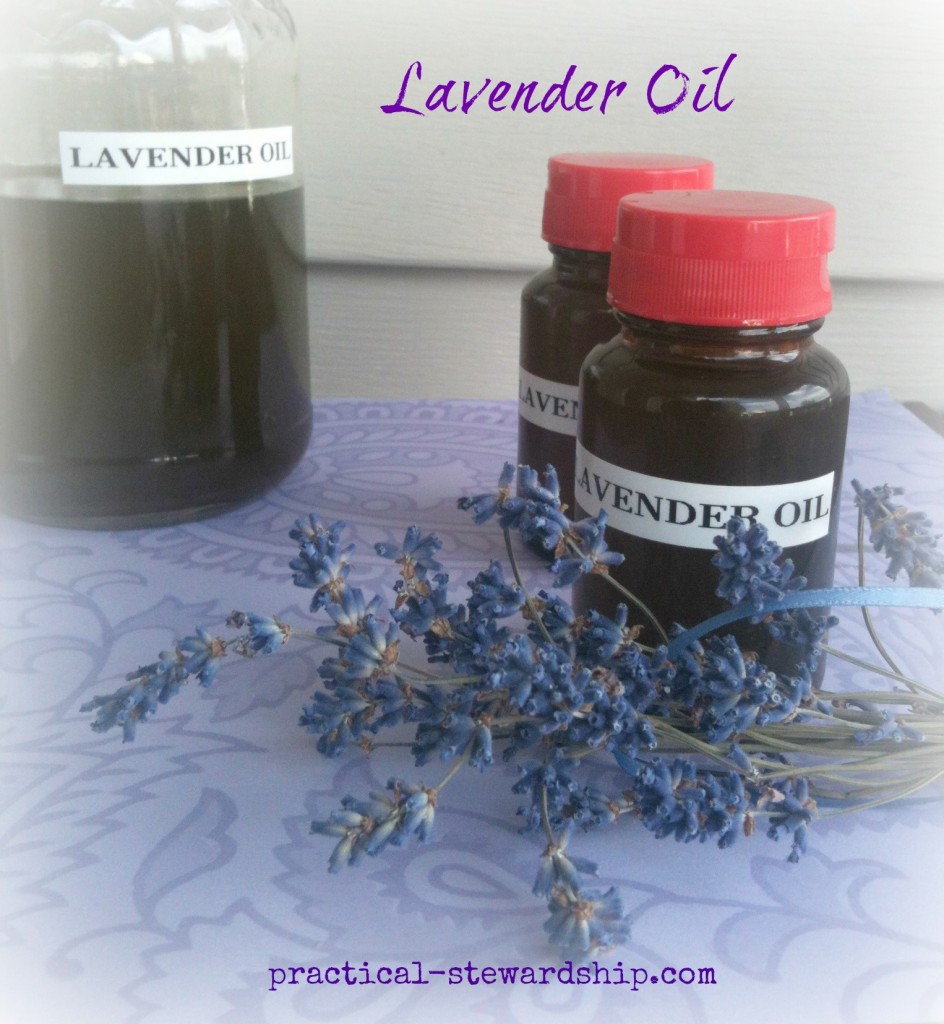
Is there any flower more fragrant than lavender through the years? The scent of lavender is lovely and enduring. So I set out to make my own lavender oil.
It’s DIY Time again, where every week I try to post something you can do yourself rather than buy, which is a money saver, and can be VERY REWARDING. Some of these posts are crafts, sewing projects, homemade cleaners, homemade health aids, tutorials, and the like.
Sometimes before I dive into a project, I read about it several times, trying to figure things out. I’ll tuck the idea away in my head and come back several months later, and then read about it again. That’s what happened in this case. I was originally looking for a tutorial on how to make lavender essential oil because I use it in my homemade deodorant and wanted to try making some. I’ve since learned that you have to have access to some kind of steam distillation essential oil extractor since lavender essential oil is purely lavender, and the process is a bit complex for the average Joe. Since I wasn’t ready to commit over $100 to this project yet, I thought I would try making simple lavender infused oil, which is just the lavender paired with an oil, called a carrier oil.
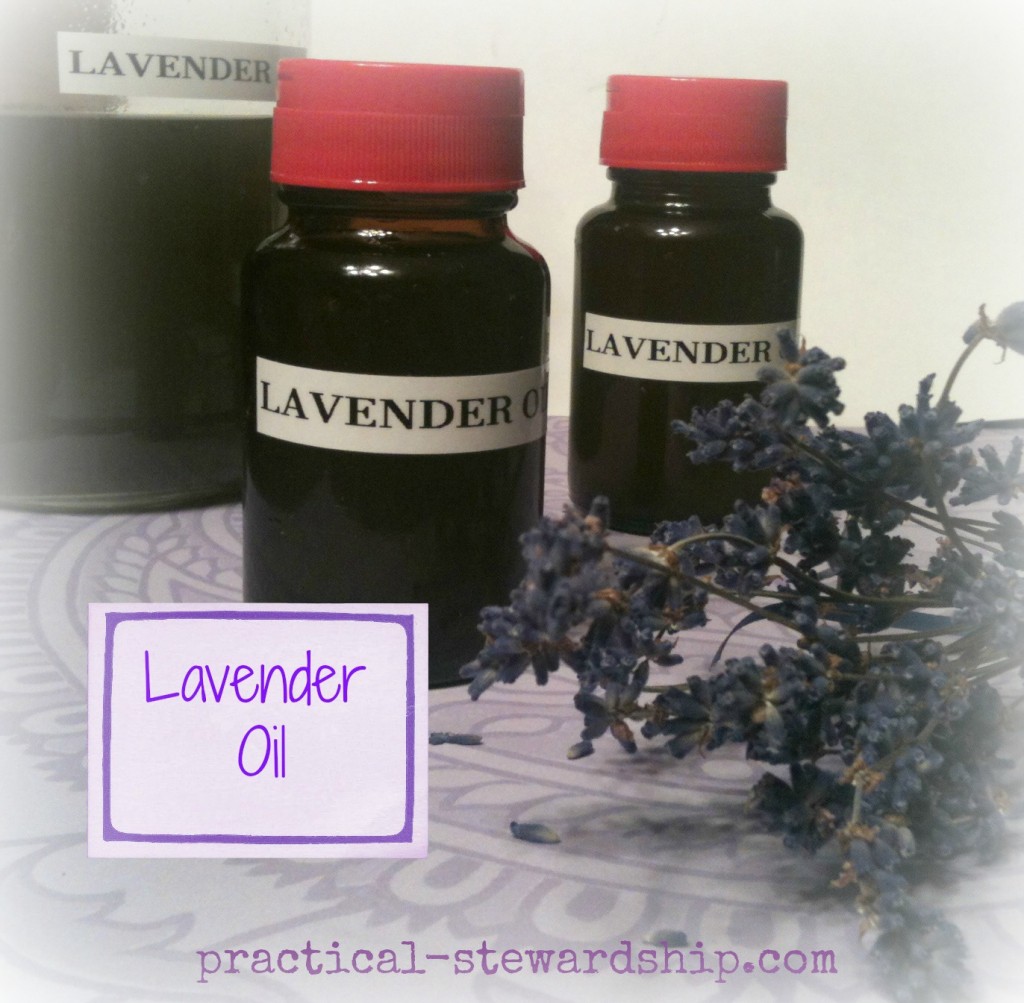
Lavender infused oil makes a great gift. Lavender oil is great to use as massage oil, scenting your bath, as a moisturizer for your hair, and even repelling insects. I’ve also read you can use it in soap making. Lavender is great at helping reduce anxiety and helps to bring a sense of calm.
It is so easy to make lavender oil. It only requires two ingredients, shears, a container, some cheesecloth, and some time.
What You Will Need:
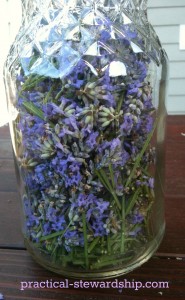
- access to lots of fresh lavender buds (enough to fill your choice container 2-3 times. On the first day, only gather enough lavender buds to fill your container once)
- shears to cut your lavender
- glass jar/container with a lid
- light olive oil/or some kind of carrier oil of your choice
- cheesecloth
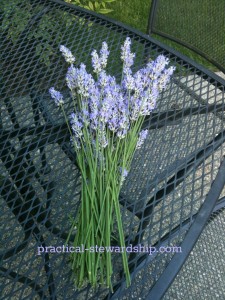
As an aside, the first time I infused the oil and lavender together, I used the non-woody stems and leaves as well as the flower buds since they all have a scent (& that’s what they did on one of the tutorials I read). I did not like how I couldn’t squeeze any of the oil out of the stems and leaves, and because of this I am now only using the flower buds and no stems.
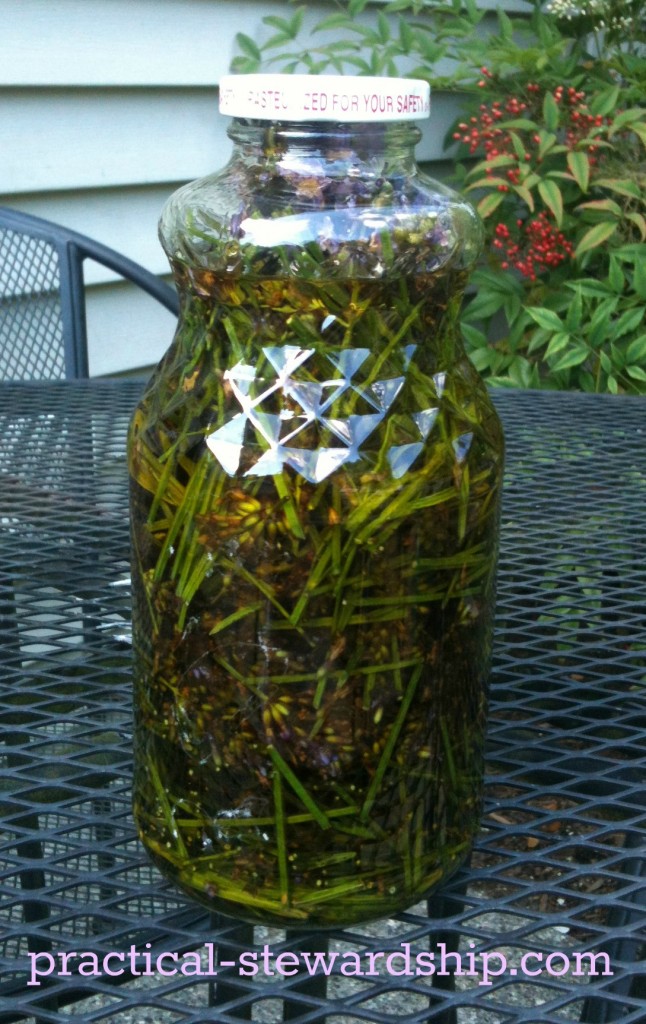
Let the lavender oil sit for a period of time in a warm area that’s out of direct sunlight. You decide how long it will sit. The longer the lavender oil sits, the more scented your oil will be. The first time I did this, I let it sit for three days. Shake it daily.
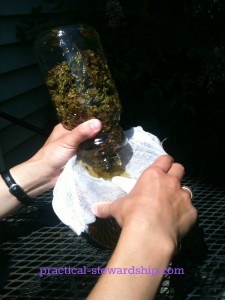
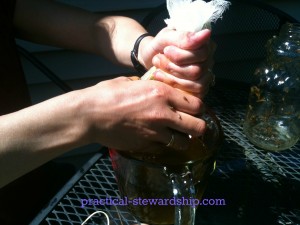
Gather more buds. Fill your container with newly cut lavender buds again, and pour the leftover oil from the first infusion into your container again. You will most likely need to cover your buds with a little new oil since you lose some oil in the process. The second time I let the lavender oil sit, I let it go for a week.
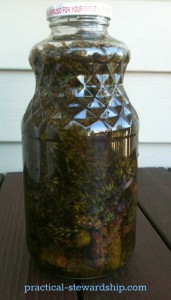
Repeat the process again if you need to in order to get the desired strength of lavender scent. I did the entire process three times, and the last time I let the oil sit for almost three weeks (since I was tackling other things, and I am glad I left it for awhile because after the third sitting the scent was wonderful). The oil is ready when the lavender scent dominates.
Enjoy the aroma!
Have you made…?
- Homemade Deodorant (3 alternatives)
- Baby Wipes Solution
- Homemade Astringent
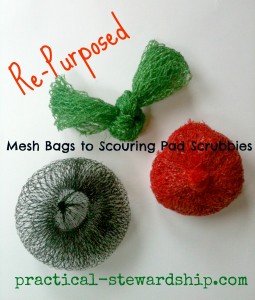
- Re-purposed Mesh Bags to Scouring Pad Scrubbie: 3 Tutorials
We would love to hear from you! Get free e-mail updates by subscribing here. Follow us on Pinterest, Facebook and Twitter. “Moreover, it is required of stewards that they be found faithful” (1 Corinthians 4:2 ESV). Thanks for visiting!
Sonja
Shared @ Weekend Wrap Up Party, SNS, Weekend Whatever, Friday Free-for-All, Friday Favorite Things, 36th Ave. Party, Works for Me Wednesday, Real Food Wednesday, 36th Ave., Whole Foods Wednesday, Healthy 2day Wednesdays, Tiny Tip Tuesday, Tuesday Greens, Tasty Tuesday, OPAAT, Talent Show Tuesday, Fat Tuesday, Take It On Tuesday, Take A Look Tuesday, Frugal Days, Sustainable Ways, One Project at a Time, Tip Me Tuesdays, Homestead Barn Hop, Welcome Home Link, Metamorphosis Monday, Monday Funday, Clever Chicks, Better Mom Monday, Homesteader Blog Carnival, Sunday’s Best, Sundae Scoop, Sew Darn Crafty.

Do you have to dry out the lavender blossoms, or use them fresh, right after cutting them?
Hi Susan, I used freshly picked lavender, but I am guessing it would work with dried lavender, too. Thanks for asking and visiting!
I am looking at growing lavender on our front hill. This could be something great to do with them down the road. Thanks for linking up on Tuesday Greens!
wow! This looks pretty easy and so great! Thanks for sharing. Just wanted to let you know you will be featured at this weeks party. The new link will be live Monday night at 8:30pm central time. Grab a featured button if you would like! http://www.nap-timecreations.com/2012/10/maple-cream-cheese-frosting-french.html
Oooh, this is lovely, Sonja! Can’t wait to try this some time because I just looove lavender. 🙂 Thanks for sharing! I’m pinning and sharing at my FB page. Have a great week!
I’ve made the bottles but have never made oil. Alas, the lavender is gone for this year — but perhaps next year!
Really love the idea, need to find me some lavendar, oh how I love the smell. Just found and it’s in sachets in my lingerie drawers. Great idea! Thanks for sharing your creative inspiration with Sunday’s Best – you helped make the party a success!
I love that idea. Here in south Florida we are just coming into our growing season. I grow lavender because the bad bugs hate it. You just gave me another use for it.
How nice, thank you for sharing such a nice idea.
I love the smell of lavender! I think that I will plan to add some to the garden next year! Thanks for the tips, I never thought to make my own oil.
Visiting from FJI. So glad I stopped by. I love your environmentally friendly and economical ideas. Not sure if I will attempt the lavender oil but I just love the mesh bag scouring bags; I have a few saved waiting for a good idea for using them. I initially used baking soda on my youngest son before using deodorant. Btw you asked for application suggestions. How about a circular cosmetic sponge? I use baking soda and vinegar for so many household tasks. Can’t wait to try your dishwasher detergent recipe! Following you. Please stop by for a visit.