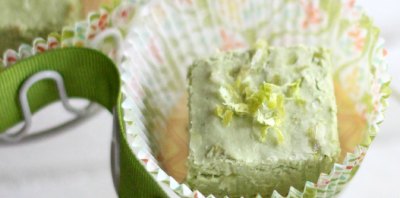
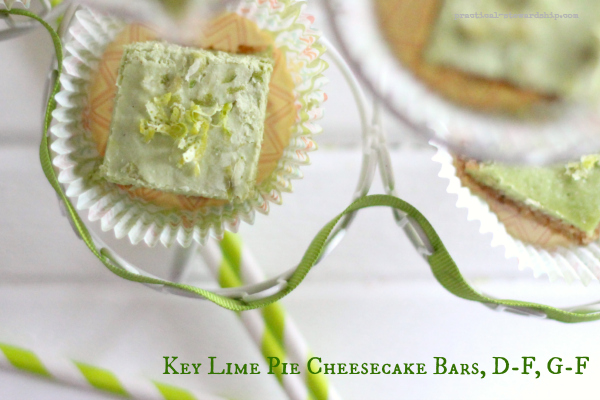
Dairy-free Raw Key Lime Pie Cheesecake Bars are a sweet and sour treat that can delight your tastebuds.
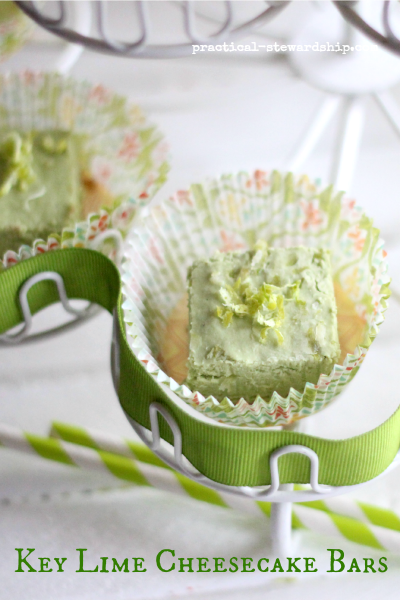
A few months ago I realized I hadn’t made any kind of lime-infused dairy-free, gluten-free cheesecake, and that had to change right away. I texted my husband when he was out that day to ask if he’d stop at the store to get a bag key limes. Once I got it in my head I was making these bars, there was no turning back.
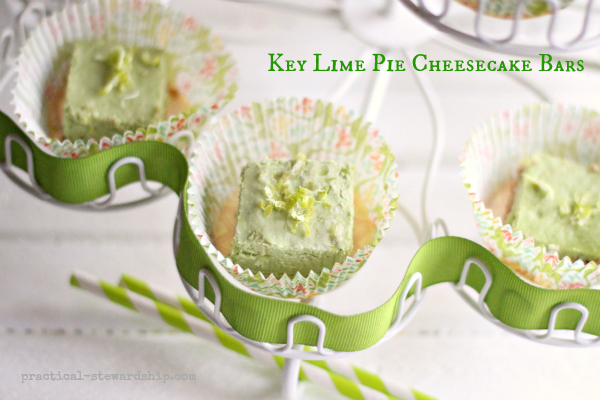
I was surprised that every recipe for a raw key lime pie cheesecake that I saw on-line was made with avocado. If you’ve followed me last year at all when I posted, basically, a new smoothie a week, you will know the one thing I couldn’t do was bring myself to put an avocado in my smoothie. I don’t know what it is. I have some kind of block in my brain that thinks avocado should go on salads and in guacamole but not in smoothies or in raw desserts. I hope I can change this some day.
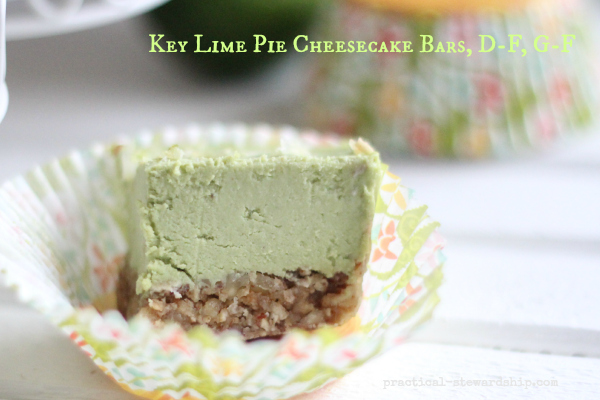
So to add a little natural green hue, I added a vegetable. Can you guess what it might be??? If you guessed spinach, you are dead on! The taste of raw spinach is hard to detect in desserts and in smoothies.
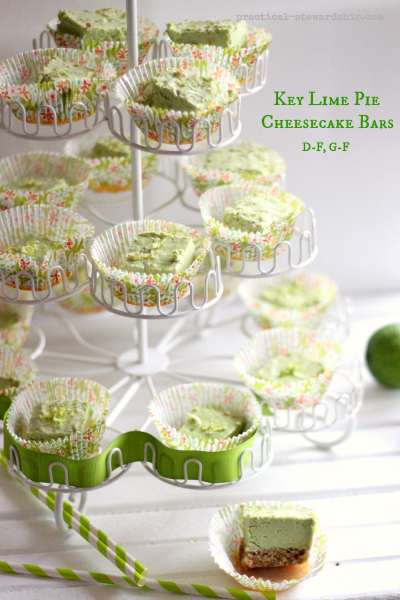
The Verdict: The combination of the sweetness from the maple syrup crust in contrast to bite of the lime is simply divine. I also love making two of these at the same time, and keeping one in the freezer ready to serve at a moment’s notice.
Key Lime Pie Cheesecake Bars, Dairy-Free, Gluten-Free
Ingredients
The Crust Ingredients:
- 3/4 cup oats use gluten-free if needed
- 1/3 cup pecans
- 3 T maple syrup
The Filling Ingredients:
- 2 1/2 cups raw cashews optional soaked for about 2 hours-but not necessary with a high powered blender
- 1/2 cup raw packed spinach
- 1/2 cup key limes peeled (about 8 key limes)
- 1 t vanilla extract
- 1/3 cup honey maple syrup for vegan
- 1/4 cup coconut oil melted
- the zest of 2 key limes divided
Instructions
-
Process the crust ingredients in a food processor. The longer they process, the finer the crust, so it’s up to you. Add more maple syrup if the crust doesn’t stick together.
-
Press your crust into an 8 x 8 pan. You can use a bottom of a glass to smash the crust onto the bottom.
-
Put all filling ingredients except the zest in a high powered blender in the order listed, and blend until smooth and creamy. If the filling is too thick, add a little water tablespoon by tablespoon to thin if desired. I've added close to a 1/2 cup of water before.
-
Add 1/2 of the key lime zest, and briefly blend.
-
Pour filling mixture on top of the crust.
-
Smooth out the filling with a spatula.
-
Garnish with the remaining key lime zest.
-
Freeze to solidify, take out of the freezer about 15 minutes before serving, and enjoy!
-
Keep refrigerated 3-4 days or in the freezer for up to a month.
Go here for the complete list of recipes.
Have you ever made a Key Lime Pie Smoothie?
Have you tried a Raw Grasshopper Pie, Dairy-Free, Gluten-Free?
This is such an awesome idea! Just looking at this makes me hungry! I am going to go and make this as soon as possible! Thanks so much for posting this keep up the good work! Yum!
Thanks so much!
Heya (: im allergic to cashews so would i be able to use almonds instead??
Hi Amy. You can probably use macadamia nuts. I’ve used them to sub for cashews before. I don’t think almonds would work. If you try it and they work, I’d love it if you’d let me know.
Oh my goodness, the look just as beautiful as delicious!
Have a great day! Marti
Hi Marti. Thanks so much, and happy Easter!
Oops, so sorry I spelled your name wrong. I have a friend who spells her name Sonia, so that must have kicked in. 😉
Hi Sonia!–I saw these over at Raw Food Thursdays and had to take a look. Oh my goodness, they are amazing! I love using raw spinach for that natural green, too. 🙂 Such a beautiful job … I want one! Thank you!
Shirley
Hi Shirley, Thanks so much. Raw spinach works great!
Thank you so much for sharing these with us! I’m highlighting them tomorrow at Raw Foods Thursdays! Love your presentation!
Thanks so much for the feature, Heather! Blessings!
How beautiful! Thanks for linking up with HVF 🙂
Thanks so much, Suzanne! You are welcome and have a great day!
i love dairy free cheesecakes and this sounds amazing with the tang of the limes. thanks for sharing.
You are welcome. The tang is so good and gives a good pucker!
These look delicious! My mouth is watering just staring at your pictures. Pinned!
I know what I’m doing tonight!!! 🙂
Thanks so much for sharing Caity! Thanks for visiting, and have a great weekend!
These look so yummy! I would love it if you would come and link this up at my link party Dandelion Wishes Wednesday. I’m also pinning this 🙂
Hi! I just found your blog via ABFOL. Your recipe looks delicious! I am just starting a new link-up party and I’d love for you to share your projects!
http://maryorganizes.com/2013/07/organize-my-life-week-5/
<
p>This is my first visit to your blog. I’ve got to say, that is one of the most interesting and strangest recipes I have ever seen. And I mean that in a good way.
Hi Julie, Ha! It really tastes great! Thanks, and thanks for visiting!
Hi- for the crust it reads, 3T cup of maple syrup. Is that supposed to mean 3 tablespoons?
Hi Jen. Thanks for asking! So sorry. Just 3 T.
Can you describe what the consistency of the filling should be? You state, “blend until smooth and creamy. If the filling is too thick, add a little water tablespoon by tablespoon to thin if desired. I’ve added close to a 1/2 cup of water before.” What should we be shooting for? Pancake batter? Creamy peanut butter?
Thanks
Hi Jen. It should pour like a thick pancake batter. You can choose to keep the batter thicker (and PB-like), but I like the batter when it’s a thicker pancake batter consistency that I can pour and have to use a spatula to guide out. I hope that helps!