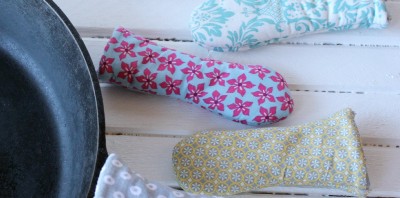
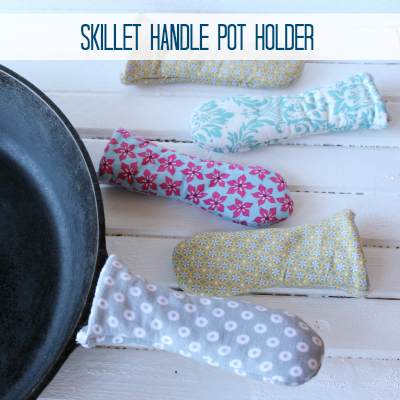
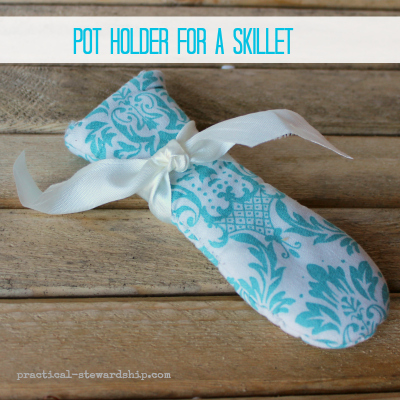
Pot holder for a skillet handle. Pot handle pot holder. Skillet handle pot holder. Pot holder for a handle. Pot holder handle thing-a-ma-jig. What would you call it? I don’t know. Suggestions? Anyway, it doesn’t matter what we call this specialized pot holder; I use it almost daily, and sometimes I use it a lot more than that!
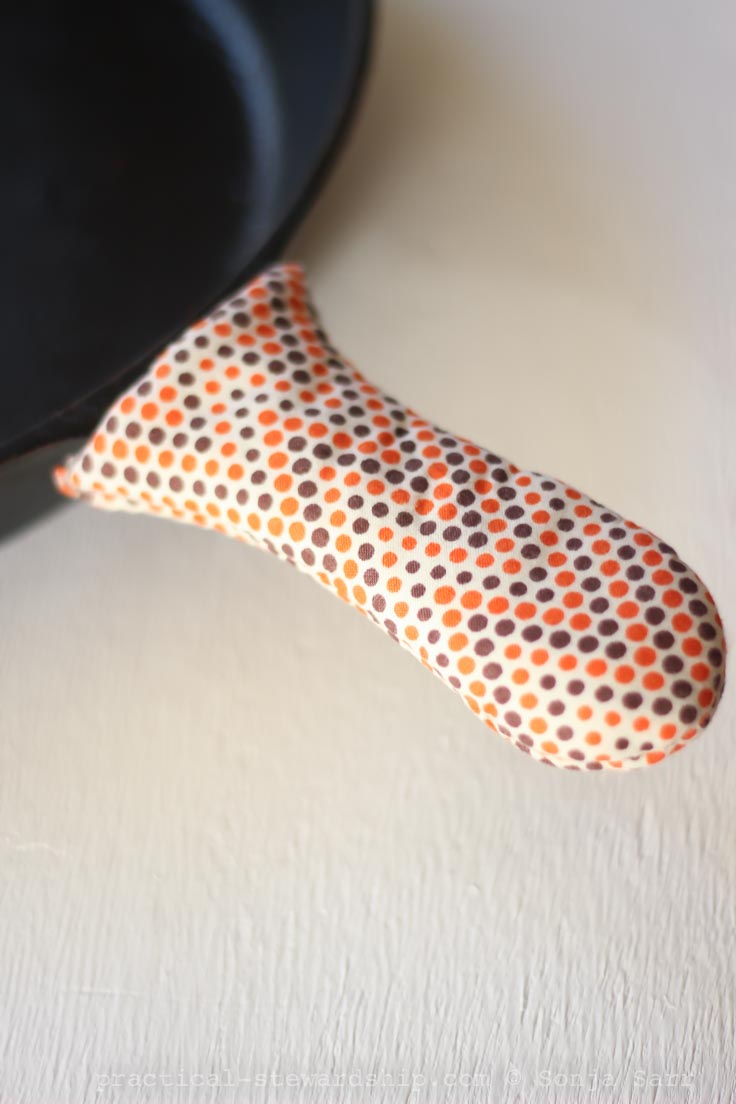
(my newest one 1/16)
It’s DIY Time again, where I post something you can do yourself rather than buy, which is a money saver, and can be just plain fun! Some of these posts are crafts, sewing projects, re-purposed ideas, homemade cleaners, homemade health aids, tutorials, and the like.
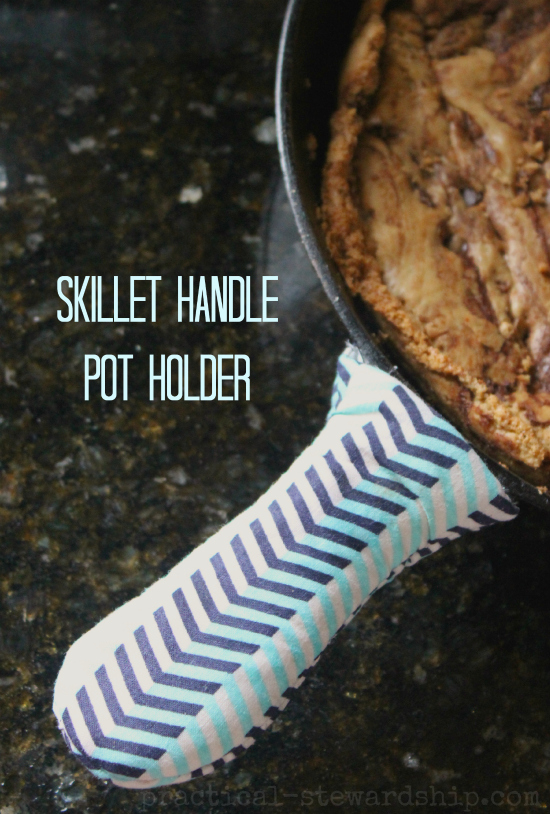
I made some of these little pot holders a couple of years ago, and these have been some of the most practical items I use in the kitchen especially since my husband finally convinced me to start using a cast iron skillet.
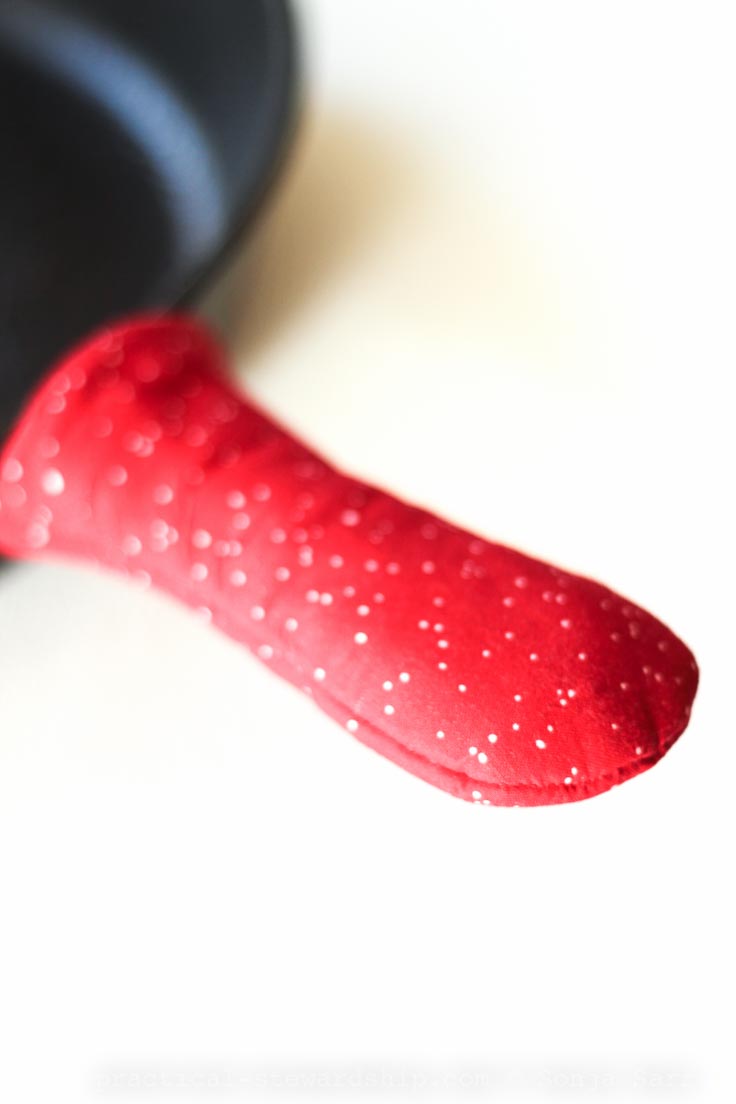
Plus, I HARDLY ever see them in the stores. Someone could make some serious money on these. Anyway, it won’t be me now since I am giving you a free tutorial on how to make them.
Speaking of the cast iron skillet, I use it all of the time, now. It makes life so much easier when it’s well seasoned (oiled), so I don’t really have to clean it out! I am constantly sauteeing onions, garlic, and veggies in it. This really adds flavor to foods, especially since I make a lot of crock-pot meals. I just wipe it out and make sure it’s well oiled. The only exception is when we make eggs for the family. Eggs make the skillet a bit harder to clean, but even then, if the skillet is well-oiled, it cleans quickly. I keep my skillet pot holder on it all of the time, too (unless we are cleaning eggs).
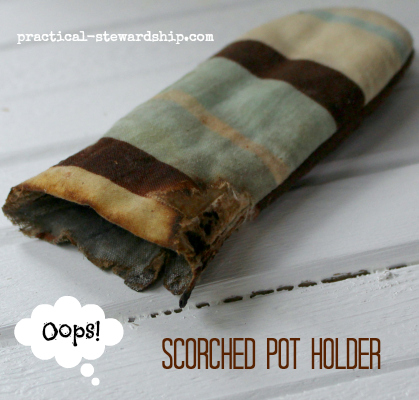
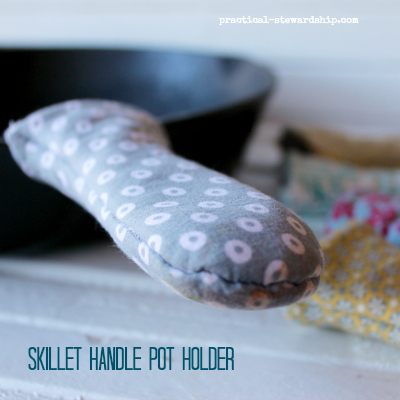 Anyway, my husband has gotten a hold of these pot holders for grilling on the barbecue, and look how one ended up (below). It caught fire. This pot holder handle is in much better condition than the other one he caught fire, too, and I had to throw out, it was so bad. So the safe way to use these pot holders is indoors on the stove top. But I must say, use at your own risk!
What You’ll Need:
- fabric scraps (can re-purpose old clothes)
- coordinating thread
- pins
- utility fabric or thick terry cloth or old re-purposed towels
- sewing machine
- fabric-cutting scissors
- paper-cutting scissors
- skillet to trace a pattern
- piece of paper
- pencil
- optional, ruler
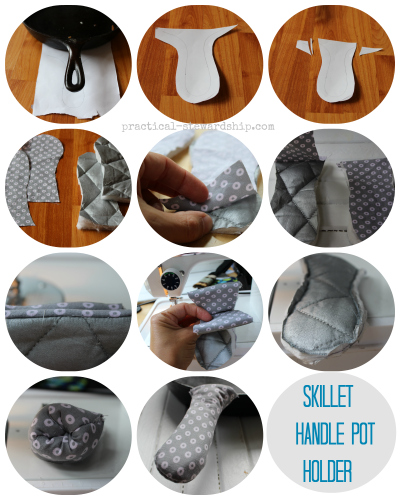
- Trace around the handle of a skillet onto your piece of paper with a pencil.
- With a ruler (I free-hand this) trace an additional inch all the way around the initial tracing.
- Cut out around the second additional inch to make your pattern.
- Pin your pattern to the fabric and cut two pieces of your fabric to make the outside front and back.
- Pin your pattern to the utility fabric/terry cloth (which I will call utility fabric from now on), and cut two pieces of your fabric/terry cloth. This will be the inside of your pot holder.
- Pin the right side of one piece of utility fabric to the right side of the fabric, and sew across the straight edge using a 1/4 inch seam allowance (I love this trick my friend Merri showed me so you don’t see the rough edges).
- Sew the other set the same way.
- Flip both sets so you see the right sides.
- Now put the fabric right sides together, pin together and make sure you see all 4 layers. This is THE MOST IMPORTANT STEP since you might not sew all the way through all of the layers and will end up doing a lot of turning right side out and in and out (trust me)!
- Sew through the 4 layers with a 1/4 inch seam allowance all the way around the fabric leaving the hole to turn it right side out.
- Turn the pot holder right side out, press if desired, and enjoy!
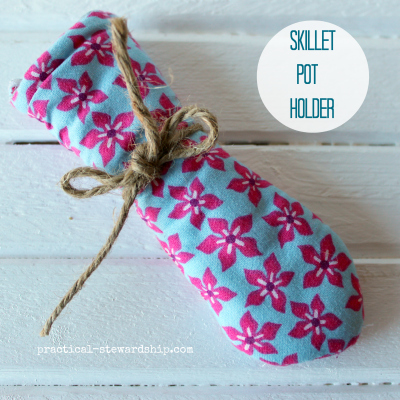
Have you made…?
THIS POST MAY CONTAIN AFFILIATE LINKS THAT COST YOU NO MORE MONEY, BUT SUPPORT OUR BLOGGING EFFORTS. THANK YOU!
SHARING AT SOME OF THESE GREAT LINK PARTIES.
